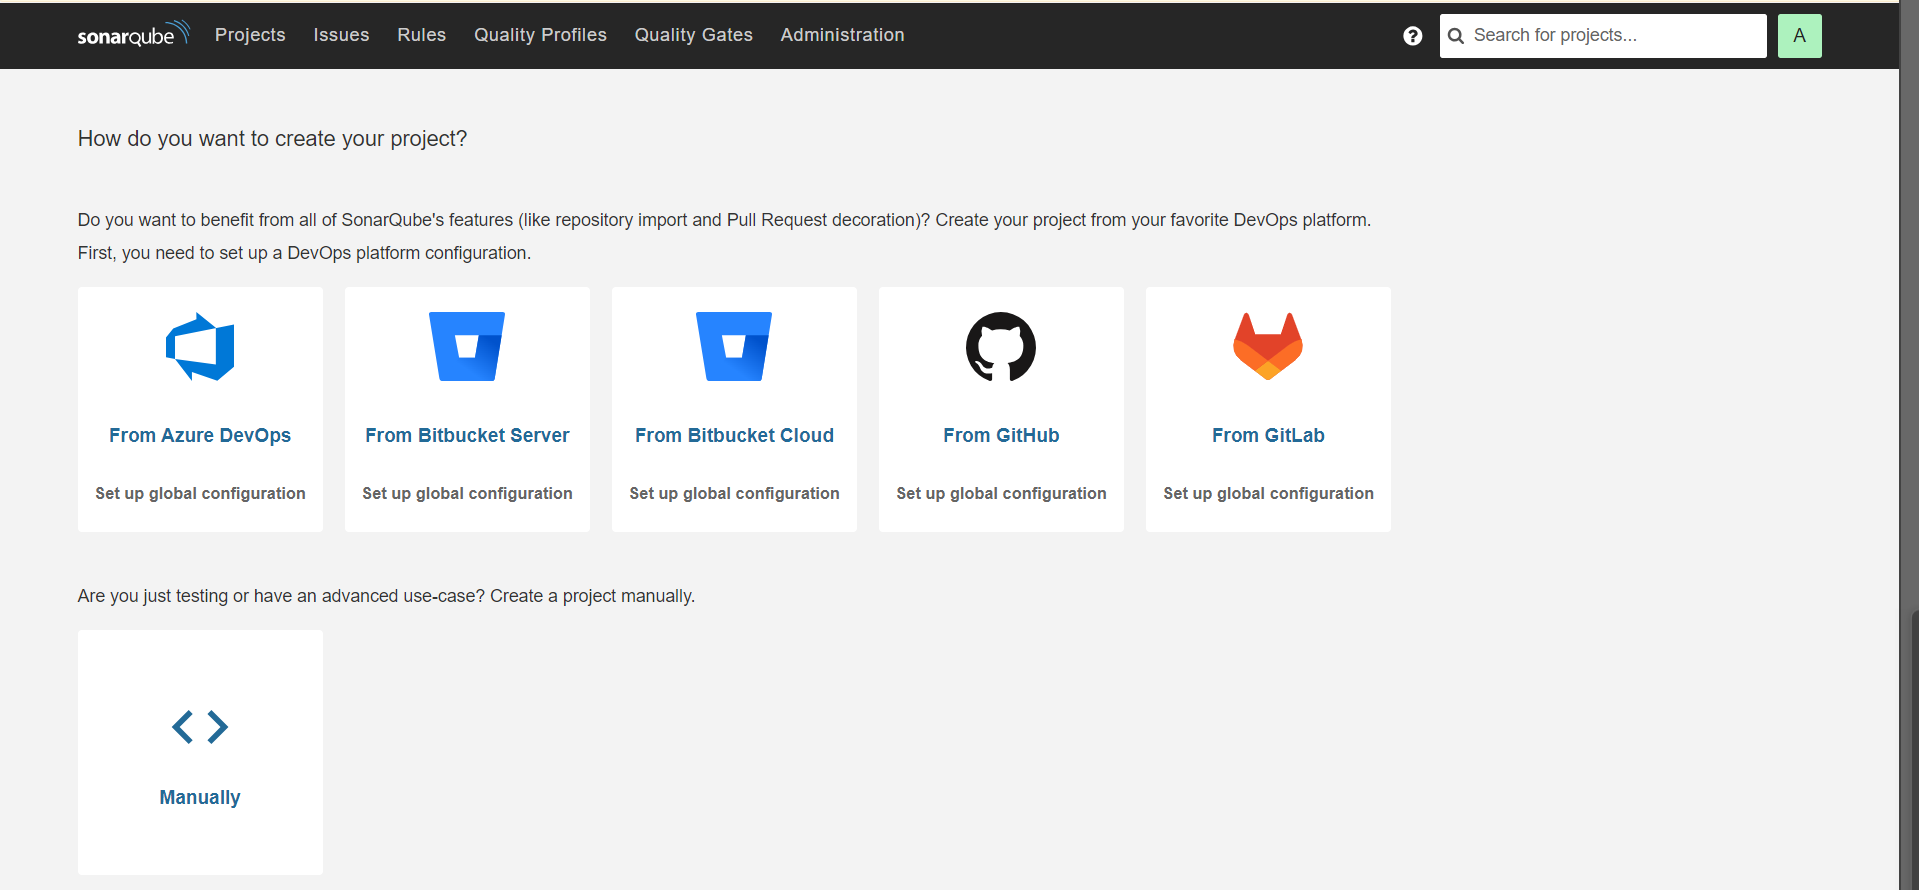
SonarQube for Code Quality Checks

I'm Yasheela, an undergraduate with a deep interest in DevOps, and cloud technologies. Currently working on exciting projects on all things DevOps. I’m passionate about simplifying complex concepts and sharing practical insights. Through my Hashnode blog, I document my learning journey, from building scalable applications to mastering cloud services, with the goal of empowering others to grow their tech skills. Let's Learn Together !!
In this blog, I’ll show you how to install and configure SonarQube on your Linux system.
SonarQube
SonarQube is a great tool that helps you check the quality of your code by identifying bugs, vulnerabilities, and code smells. We’ll also set it up with a PostgreSQL database. Let’s go step by step and explain why we do each part!
Step 1: Update Package Repository and Upgrade Packages
Before we start, let’s update the system to make sure we’re using the latest packages.
$ sudo apt update
$ sudo apt upgrade
We do this because it ensures that all existing software on our machine is up to date and secure.
Step 2: Add PostgreSQL Repository
We’ll be using PostgreSQL as the database for SonarQube, so we need to add its repository to our system.
$ sudo sh -c 'echo "deb http://apt.postgresql.org/pub/repos/apt $(lsb_release -cs)-pgdg main" > /etc/apt/sources.list.d/pgdg.list'
$ wget -qO- https://www.postgresql.org/media/keys/ACCC4CF8.asc | sudo tee /etc/apt/trusted.gpg.d/pgdg.asc &>/dev/null
This step adds the PostgreSQL repository to our system’s list of sources so that we can install PostgreSQL.
Step 3: Install PostgreSQL
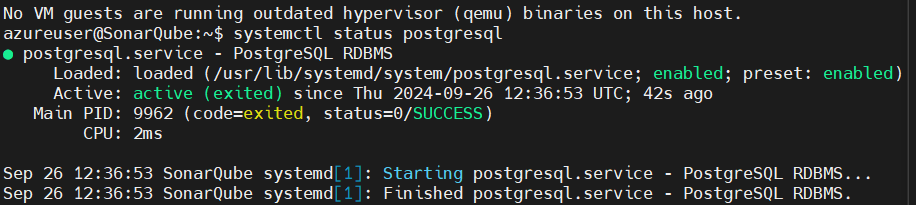
Now, let’s install PostgreSQL and make sure it starts on system boot.
$ sudo apt update
$ sudo apt-get -y install postgresql postgresql-contrib
$ sudo systemctl enable postgresql
We install PostgreSQL because SonarQube needs a database to store its data.
Step 4: Create a Database for SonarQube
Next, we’ll set up a user and a database for SonarQube.
$ sudo passwd postgres
$ su - postgres
$ createuser sonar
$ psql
$ ALTER USER sonar WITH ENCRYPTED password 'sonar';
$ CREATE DATABASE sonarqube OWNER sonar;
$ grant all privileges on DATABASE sonarqube to sonar;
$ \q
$ exit
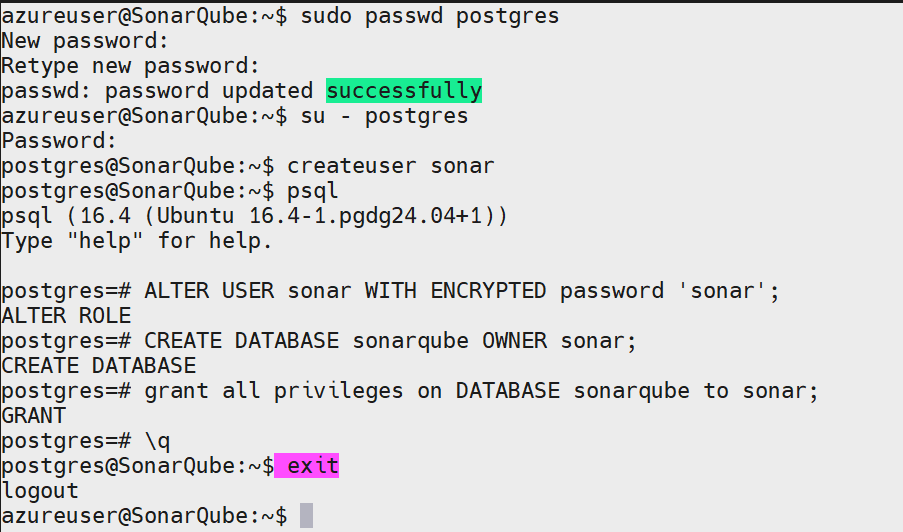
Here, we create a database and user for SonarQube. This database will store all the data related to your code quality checks.
Step 5: Add the Adoptium Repository for Java
SonarQube needs Java to run, and it requires Java 17. Let’s add the Adoptium repository to install Java.
$ sudo bash
$ wget -O - https://packages.adoptium.net/artifactory/api/gpg/key/public | tee /etc/apt/keyrings/adoptium.asc
$ echo "deb [signed-by=/etc/apt/keyrings/adoptium.asc] https://packages.adoptium.net/artifactory/deb $(awk -F= '/^VERSION_CODENAME/{print$2}' /etc/os-release) main" | tee /etc/apt/sources.list.d/adoptium.list
We’re adding this repository so we can install Java 17, which is required for SonarQube.
Step 6: Install Java 17
Now, we can install Java 17 and make sure it's the default version.
$ apt update
$ apt install temurin-17-jdk
$ update-alternatives --config java
$ /usr/bin/java --version
Step 7: Tune the Linux Kernel
SonarQube recommends tuning the system's kernel for better performance. We’ll increase the number of open files and mapped memory regions.
Increase Limits:
$ sudo vim /etc/security/limits.conf
Add the following lines at the bottom:

Increase Mapped Memory:
$ sudo vim /etc/sysctl.conf
Add this line:
vm.max_map_count = 262144
This tuning helps SonarQube run more efficiently, especially on large projects.
Step 8: Download and Install SonarQube
Now, let’s download and extract SonarQube.
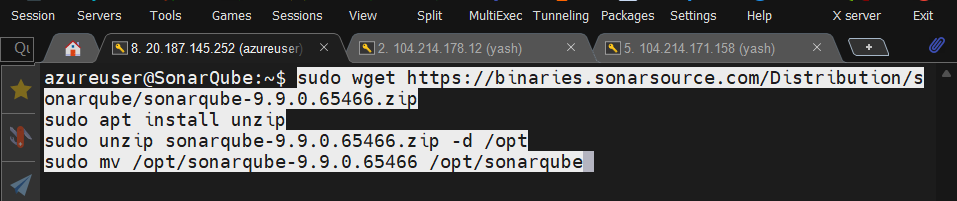
We download the latest version of SonarQube, extract it, and move it to the /opt directory.
Step 9: Create a User for SonarQube
Let’s create a new user and set the correct permissions for SonarQube.
$ sudo groupadd sonar
$ sudo useradd -c "user to run SonarQube" -d /opt/sonarqube -g sonar sonar
$ sudo chown sonar:sonar /opt/sonarqube -R
We create a user to run SonarQube and give it ownership of the SonarQube directory.
Step 10: Configure SonarQube to Use PostgreSQL
We need to update SonarQube’s configuration to connect to our PostgreSQL database.
$ sudo vim /opt/sonarqube/conf/sonar.properties
Find and replace these lines with your database details:
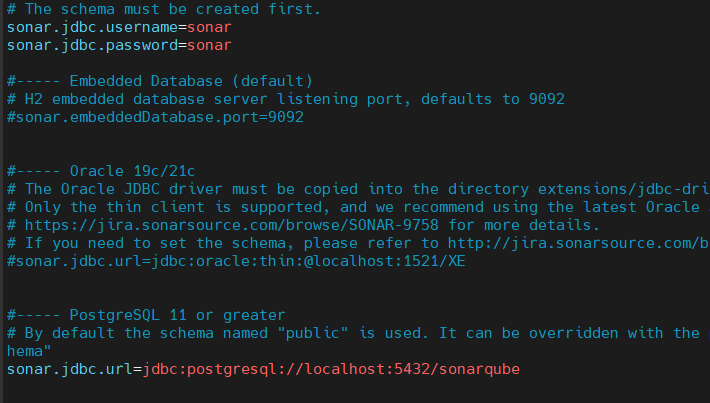
This tells SonarQube to use the PostgreSQL database we set up earlier.
Step 11: Create a Service for SonarQube
To make it easier to start and stop SonarQube, we’ll create a system service.
$ sudo vim /etc/systemd/system/sonar.service
Add this content:
[Unit]
Description=SonarQube service
After=syslog.target network.target

[Service]
Type=forking
ExecStart=/opt/sonarqube/bin/linux-x86-64/sonar.sh start
ExecStop=/opt/sonarqube/bin/linux-x86-64/sonar.sh stop
User=sonar
Group=sonar
Restart=always
LimitNOFILE=65536
LimitNPROC=4096

[Install]
WantedBy=multi-user.target
This service file allows us to manage SonarQube with system commands like start, stop, and restart.
Step 12: Start SonarQube
Finally, let’s start SonarQube and enable it to run on startup.
$ sudo systemctl start sonar
$ sudo systemctl enable sonar
$ sudo systemctl status sonar
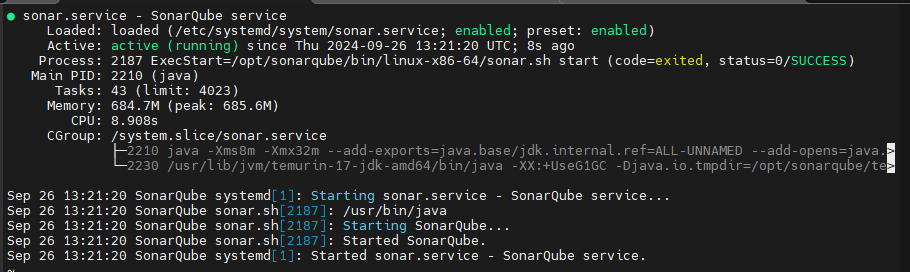
Check the logs to ensure SonarQube is running without issues:
$ sudo tail -f /opt/sonarqube/logs/sonar.log
Conclusion
And that’s it! You’ve successfully installed and configured SonarQube on your Linux machine. Now you can start analyzing your code for quality and security. SonarQube helps keep your code clean and secure, making it a valuable tool for any developer.