Building a Secure Three-Tier Application with DevSecOps on AWS EKS

I'm Yasheela, an undergraduate with a deep interest in DevOps, and cloud technologies. Currently working on exciting projects on all things DevOps. I’m passionate about simplifying complex concepts and sharing practical insights. Through my Hashnode blog, I document my learning journey, from building scalable applications to mastering cloud services, with the goal of empowering others to grow their tech skills. Let's Learn Together !!

Executive Summary
This comprehensive guide demonstrates the implementation of a production-grade three-tier application using modern DevSecOps practices on Amazon Web Services. We'll leverage Amazon EKS for container orchestration, implement CI/CD pipelines with Jenkins, ensure code quality with SonarQube, and achieve GitOps deployment patterns using ArgoCD.
Architecture Overview
Our solution implements a cloud-native architecture consisting of:
Presentation Layer: React-based frontend served through AWS Application Load Balancer
Application Layer: Node.js backend API with business logic
Data Layer: Database deployment with persistent storage
Infrastructure Layer: AWS EKS cluster with monitoring and security controls
Technical Stack
| Component | Technology | Purpose |
| Container Orchestration | Amazon EKS | Managed Kubernetes service |
| CI/CD Platform | Jenkins | Build and deployment automation |
| Code Quality | SonarQube | Static code analysis and security scanning |
| GitOps | ArgoCD | Declarative deployment management |
| Monitoring | Prometheus + Grafana | Cluster and application metrics |
| Infrastructure | Terraform | Infrastructure as Code |
| Container Registry | Amazon ECR | Private Docker image storage |
Implementation Roadmap
Phase 1: Foundation Setup
AWS Identity and Access Management
First, establish proper AWS credentials with programmatic access:
Navigate to AWS IAM console
Create a new user with programmatic access
Attach
AdministratorAccesspolicy (restrict in production environments)Generate and securely store access keys
Configure local AWS CLI with these credentials
Development Environment Configuration
Set up the required tools on your local workstation:
Terraform Installation (Ubuntu/Debian):
# Add HashiCorp GPG key and repository
wget -O- https://apt.releases.hashicorp.com/gpg | sudo gpg --dearmor -o /usr/share/keyrings/hashicorp-archive-keyring.gpg
echo "deb [signed-by=/usr/share/keyrings/hashicorp-archive-keyring.gpg] https://apt.releases.hashicorp.com $(lsb_release -cs) main" | sudo tee /etc/apt/sources.list.d/hashicorp.list

# Install Terraform
sudo apt update && sudo apt install terraform -y
AWS CLI Installation:
# Download and install AWS CLI v2
curl "https://awscli.amazonaws.com/awscli-exe-linux-x86_64.zip" -o "awscliv2.zip"
sudo apt install unzip -y
unzip awscliv2.zip
sudo ./aws/install

# Configure AWS credentials
aws configure
Phase 2: Infrastructure Deployment
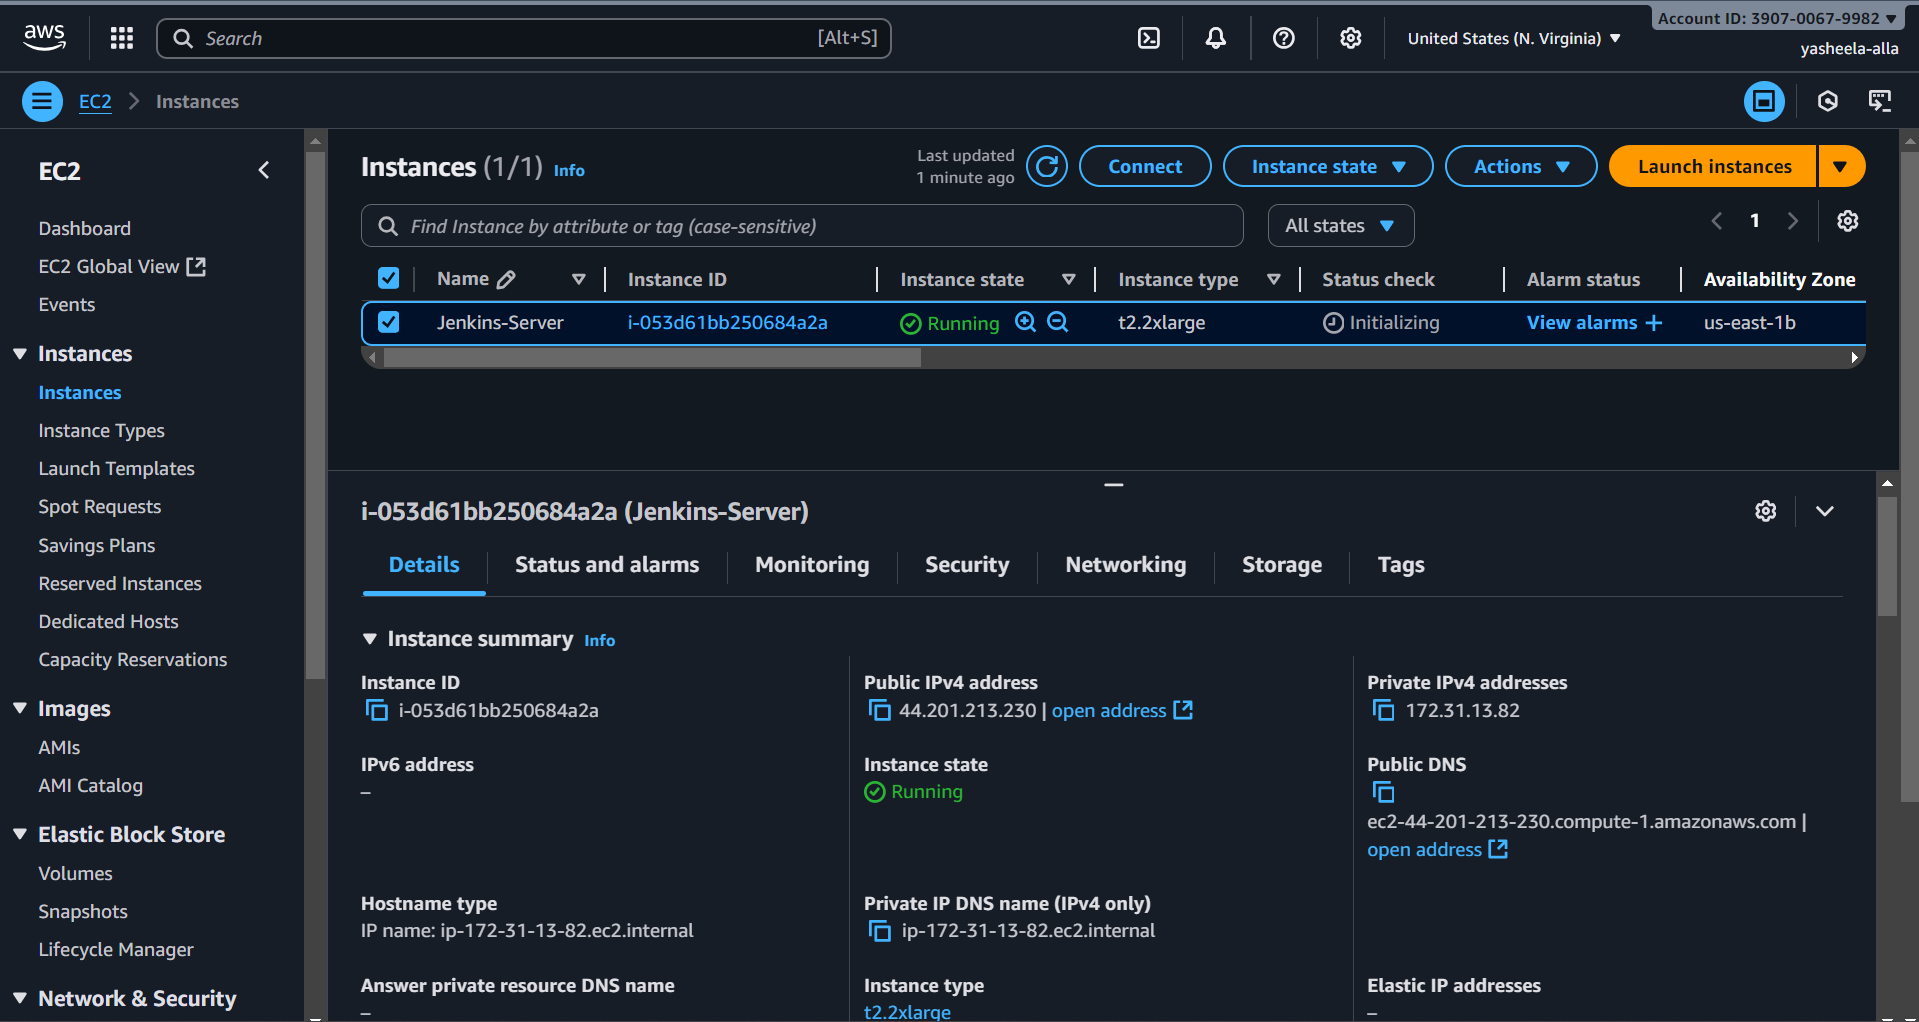
Jenkins Server Provisioning
Deploy Jenkins infrastructure using Terraform with these modifications:
Clone your infrastructure repository
Customize backend configuration for state management
Update security group rules for your IP range
Modify instance type based on workload requirements
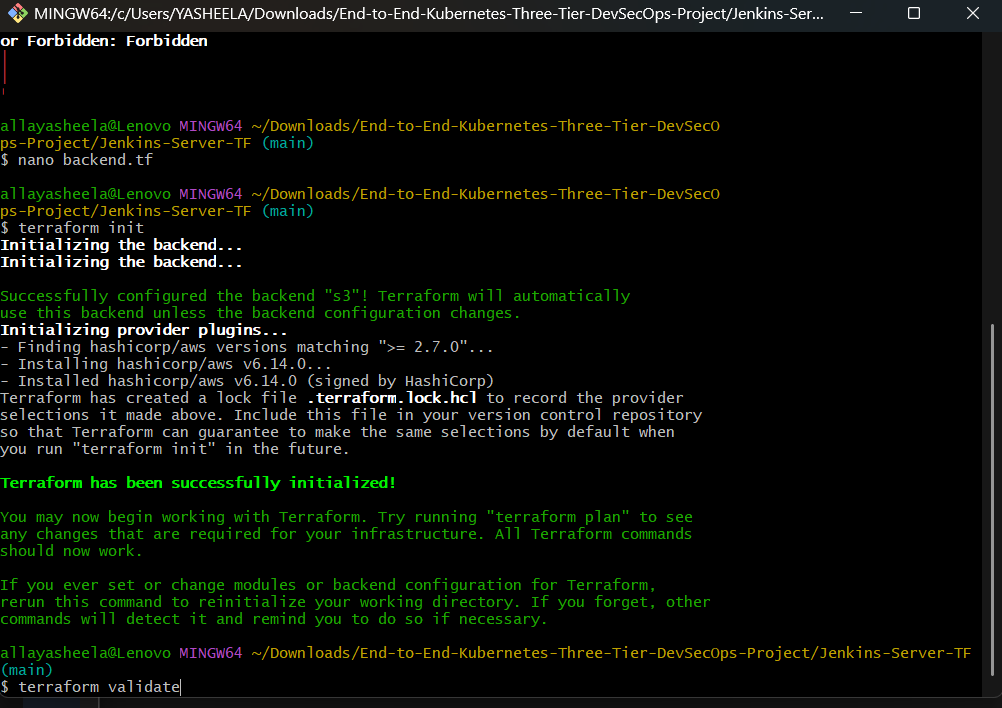
Terraform Commands:
# Initialize Terraform working directory
terraform init

# Validate configuration syntax
terraform validate

# Preview infrastructure changes
terraform plan -var-file=variables.tfvars

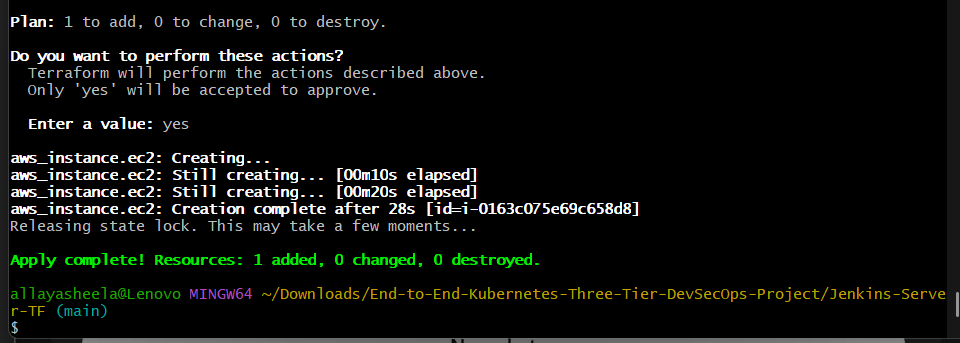
# Deploy infrastructure
terraform apply -var-file=variables.tfvars --auto-approve
Jenkins Configuration and Tool Installation
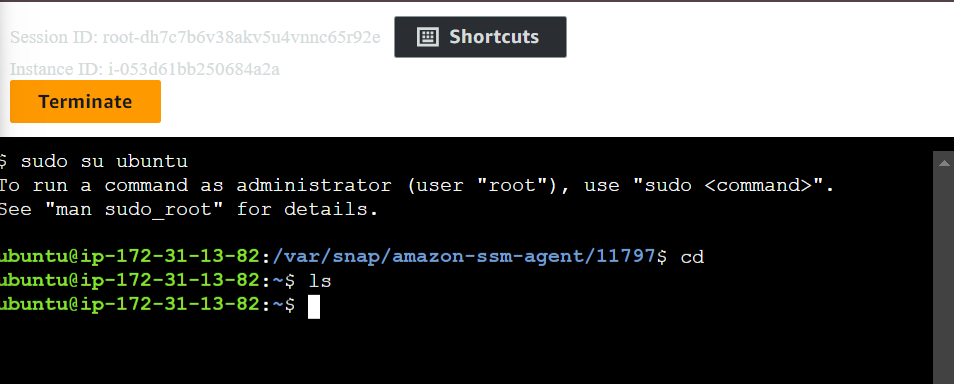
Once the EC2 instance is running, install and configure essential tools:
# Verify installed tools
jenkins --version
docker --version
terraform --version
kubectl version --client
aws --version
trivy --version
eksctl version
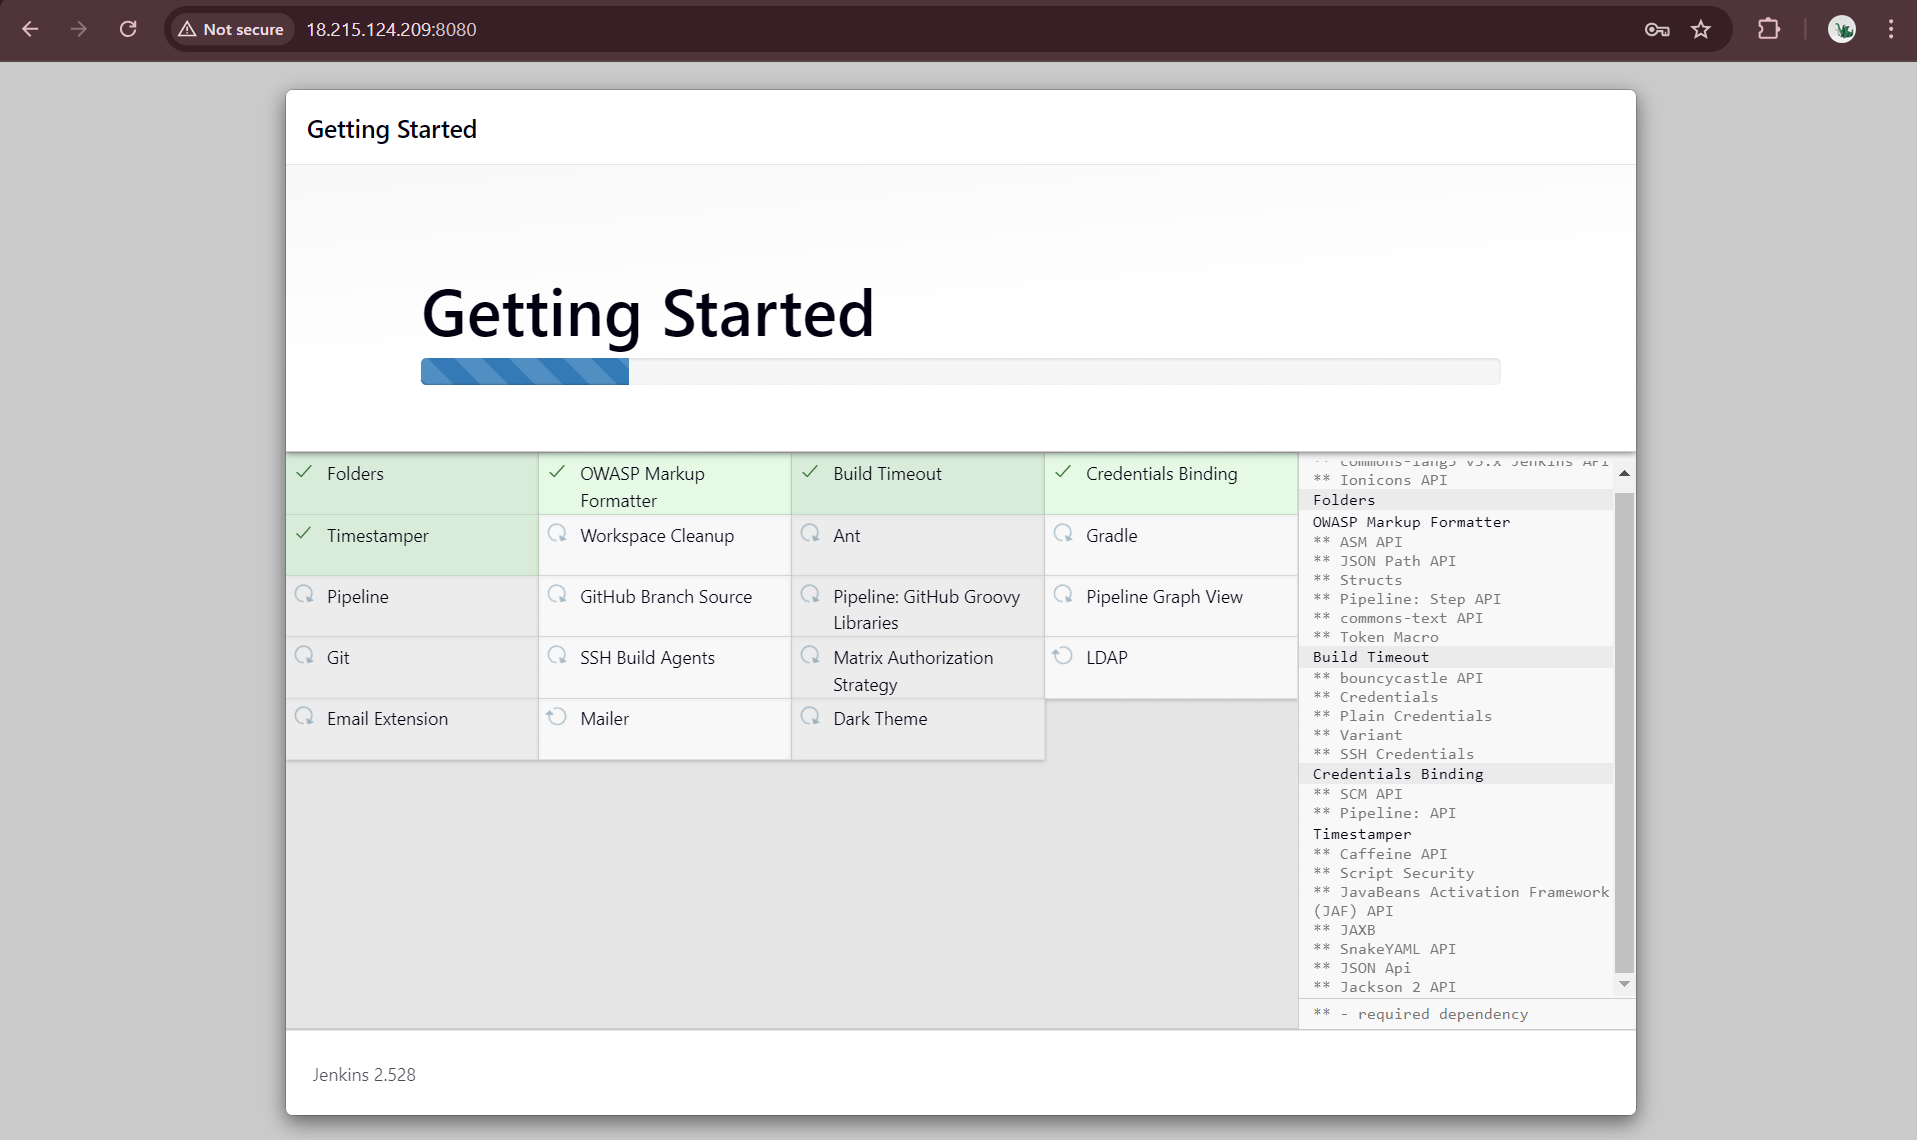
Access Jenkins web interface at http://<your-server-ip>:8080 and complete the setup wizard.
Phase 3: Kubernetes Cluster Setup
EKS Cluster Creation
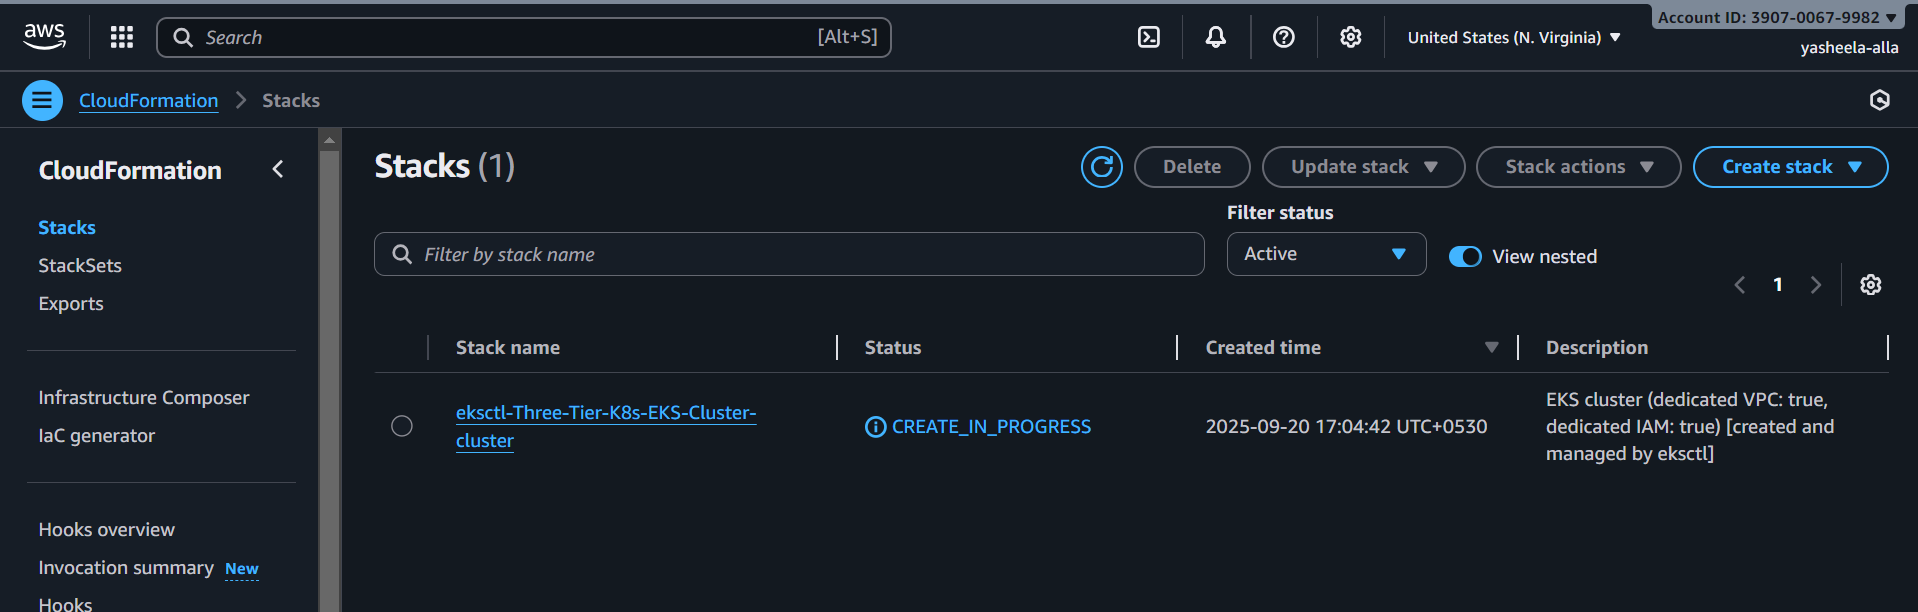
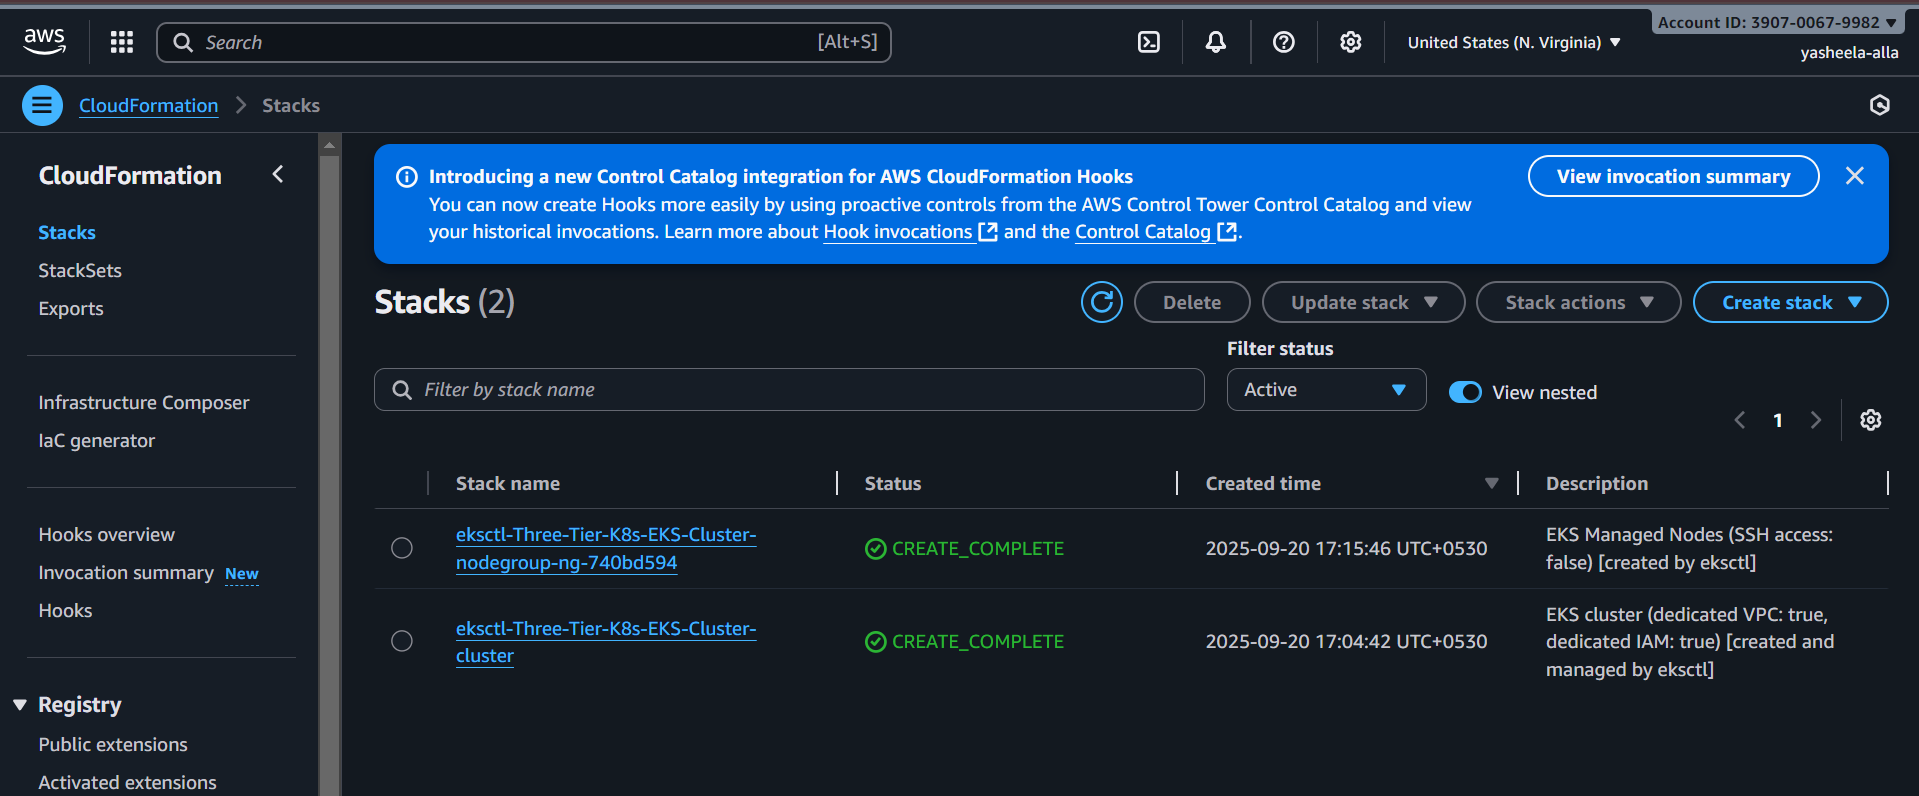
Deploy a managed Kubernetes cluster using eksctl:
# Create EKS cluster
eksctl create cluster \
  --name secure-three-tier-cluster \
  --region us-east-1 \
  --node-type t3.medium \
  --nodes-min 2 \
  --nodes-max 4 \
  --managed

# Update kubeconfig
aws eks update-kubeconfig --region us-east-1 --name secure-three-tier-cluster

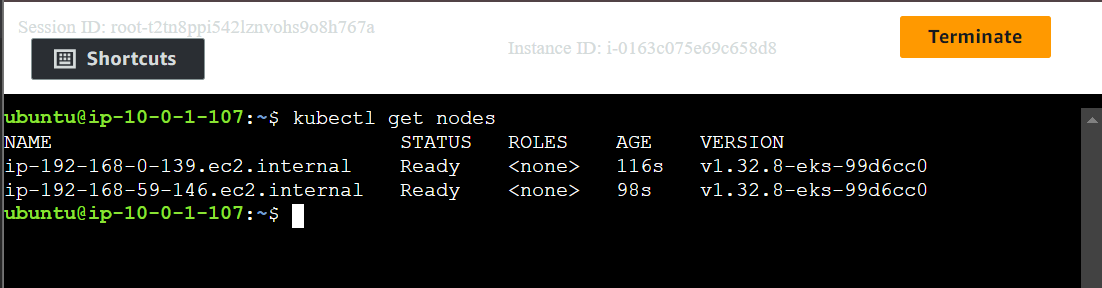
# Verify cluster connectivity
kubectl get nodes
Load Balancer Controller Setup
Configure AWS Load Balancer Controller for ingress management:
# Download IAM policy
curl -O https://raw.githubusercontent.com/kubernetes-sigs/aws-load-balancer-controller/v2.5.4/docs/install/iam_policy.json

# Create IAM policy
aws iam create-policy \
  --policy-name AWSLoadBalancerControllerIAMPolicy \
  --policy-document file://iam_policy.json

# Associate OIDC provider
eksctl utils associate-iam-oidc-provider \
  --region=us-east-1 \
  --cluster=secure-three-tier-cluster \
  --approve

# Create service account
eksctl create iamserviceaccount \
  --cluster=secure-three-tier-cluster \
  --namespace=kube-system \
  --name=aws-load-balancer-controller \
  --role-name AmazonEKSLoadBalancerControllerRole \
  --attach-policy-arn=arn:aws:iam::YOUR-ACCOUNT-ID:policy/AWSLoadBalancerControllerIAMPolicy \
  --approve \
  --region=us-east-1
Phase 4: Container Registry Configuration
Amazon ECR Repository Setup
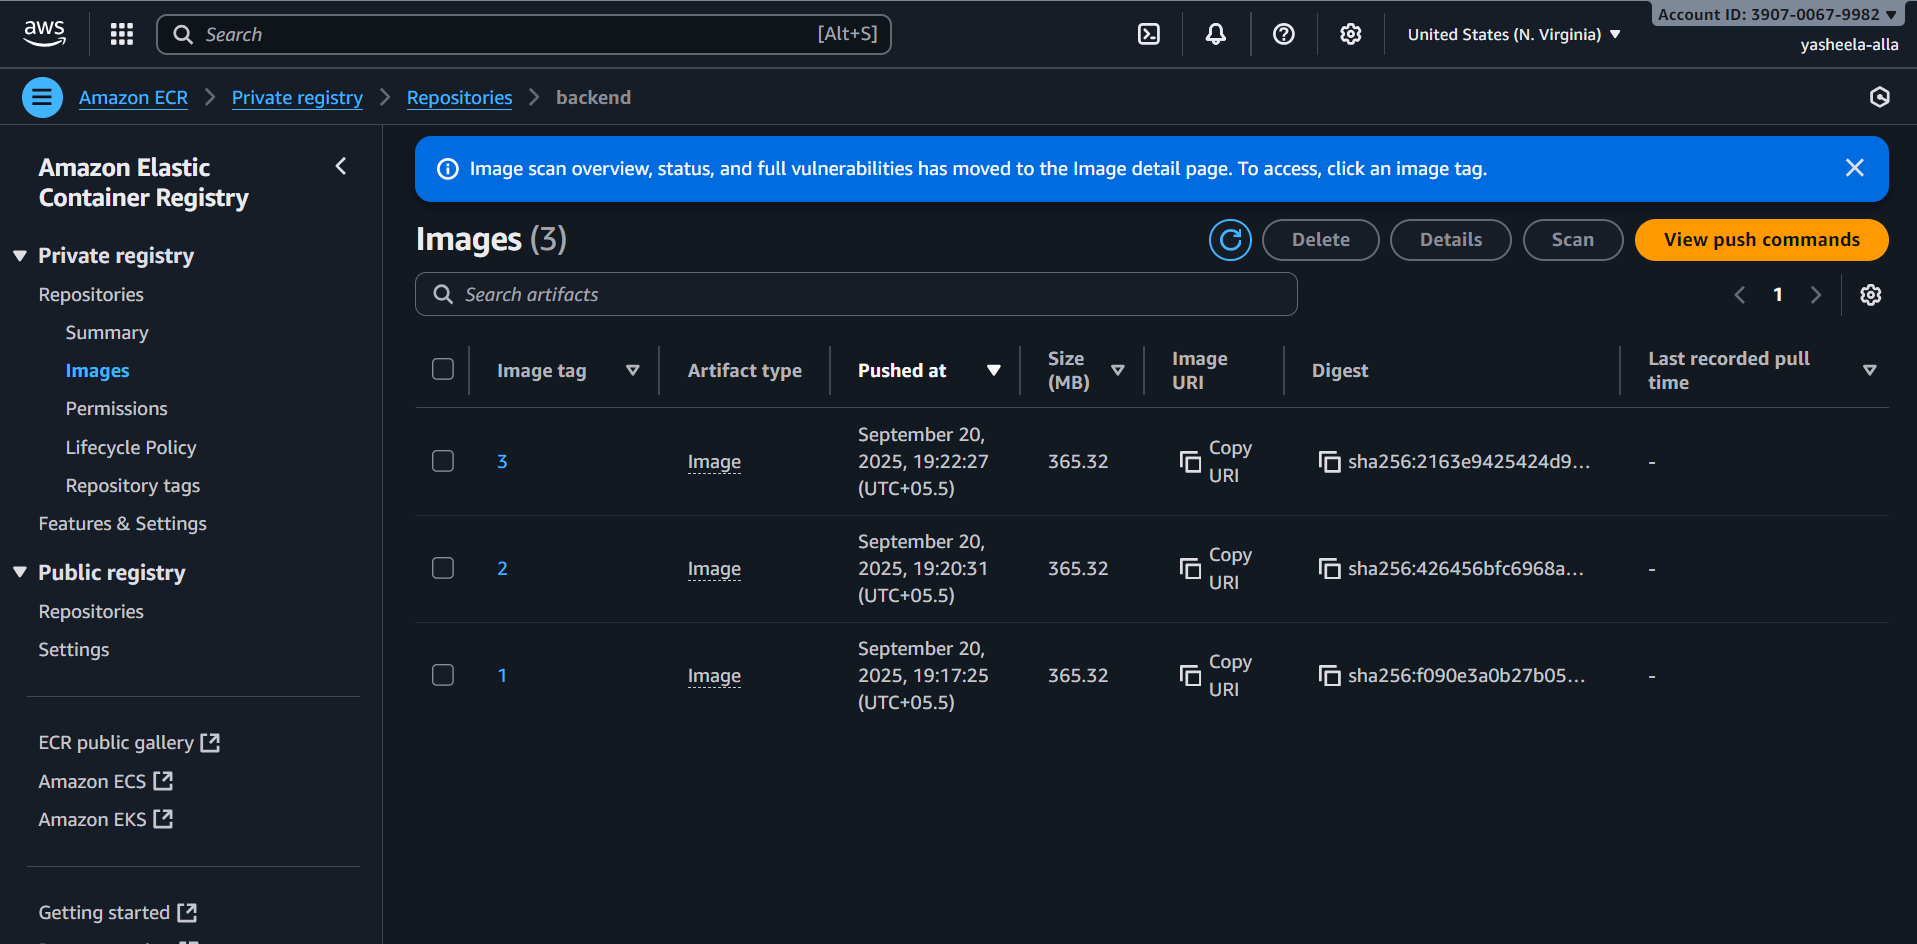
Create private repositories for application components:
Navigate to Amazon ECR console
Create repositories:
frontend-appandbackend-apiConfigure repository policies for security
Authenticate Docker client with ECR
# ECR login (replace region and account ID)
aws ecr get-login-password --region us-east-1 | docker login --username AWS --password-stdin YOUR-ACCOUNT-ID.dkr.ecr.us-east-1.amazonaws.com
Phase 5: GitOps Implementation with ArgoCD
ArgoCD Installation and Configuration
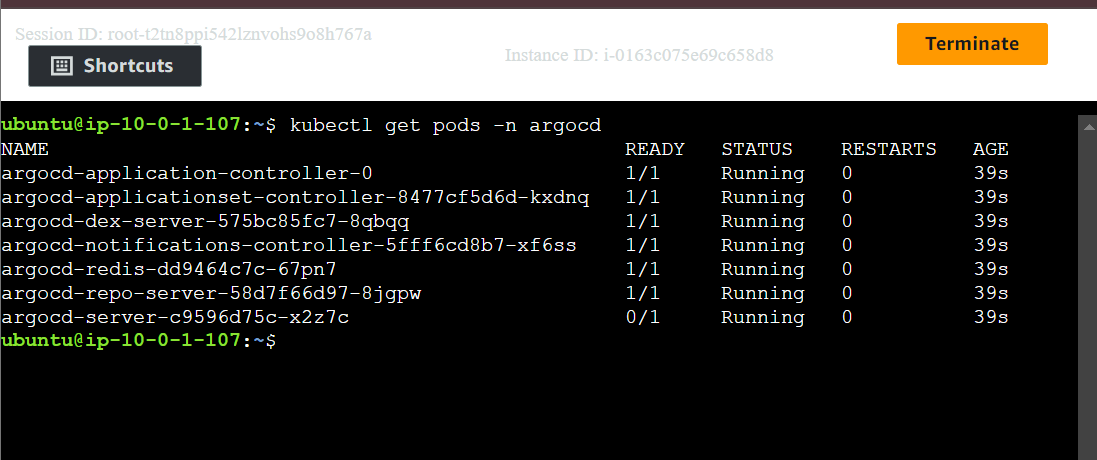
Deploy ArgoCD for declarative application management:
# Create dedicated namespace
kubectl create namespace argocd

# Install ArgoCD
kubectl apply -n argocd -f https://raw.githubusercontent.com/argoproj/argo-cd/stable/manifests/install.yaml

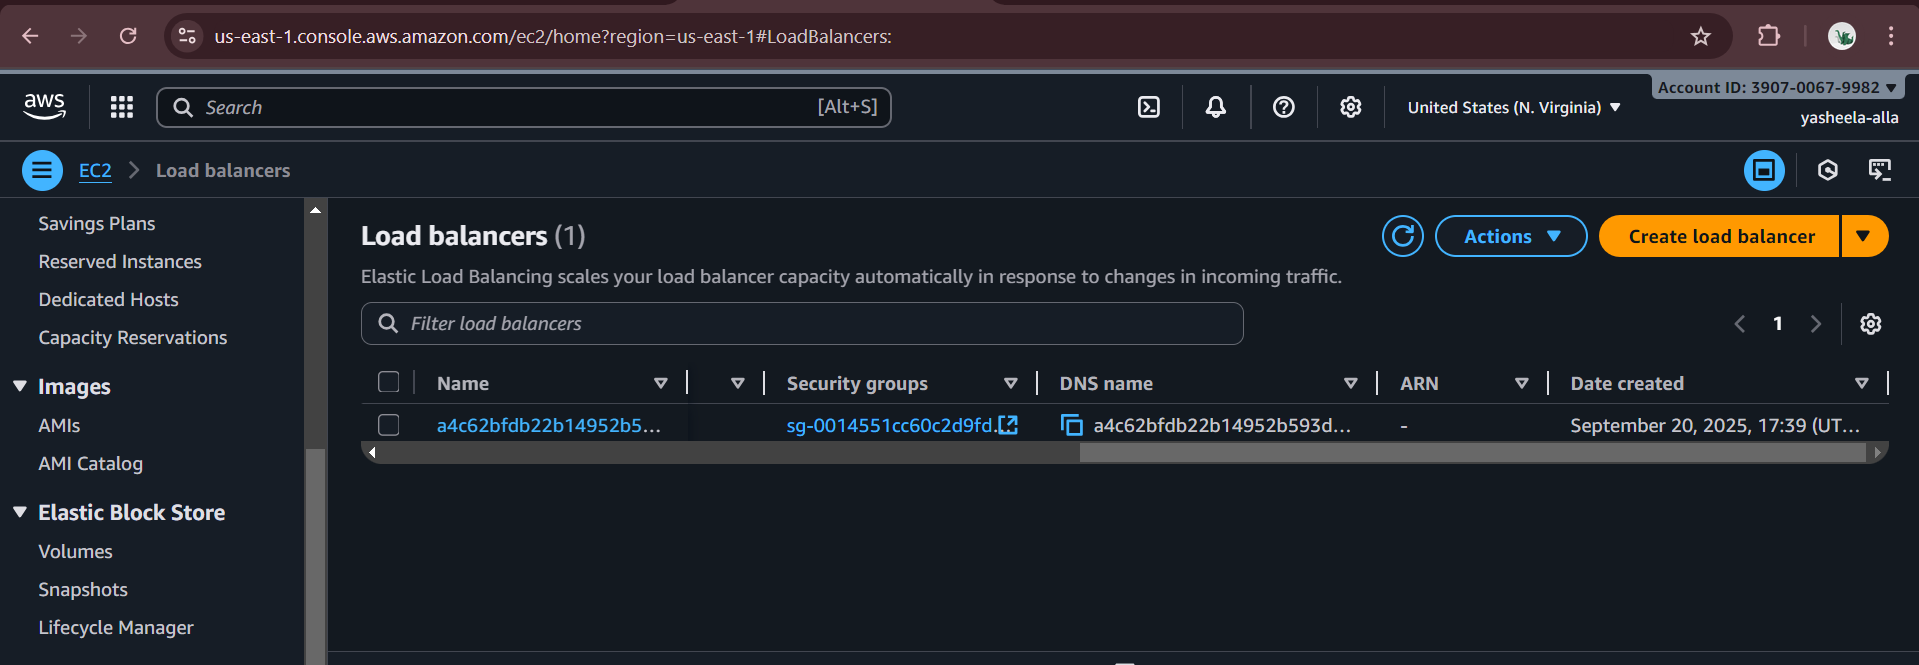
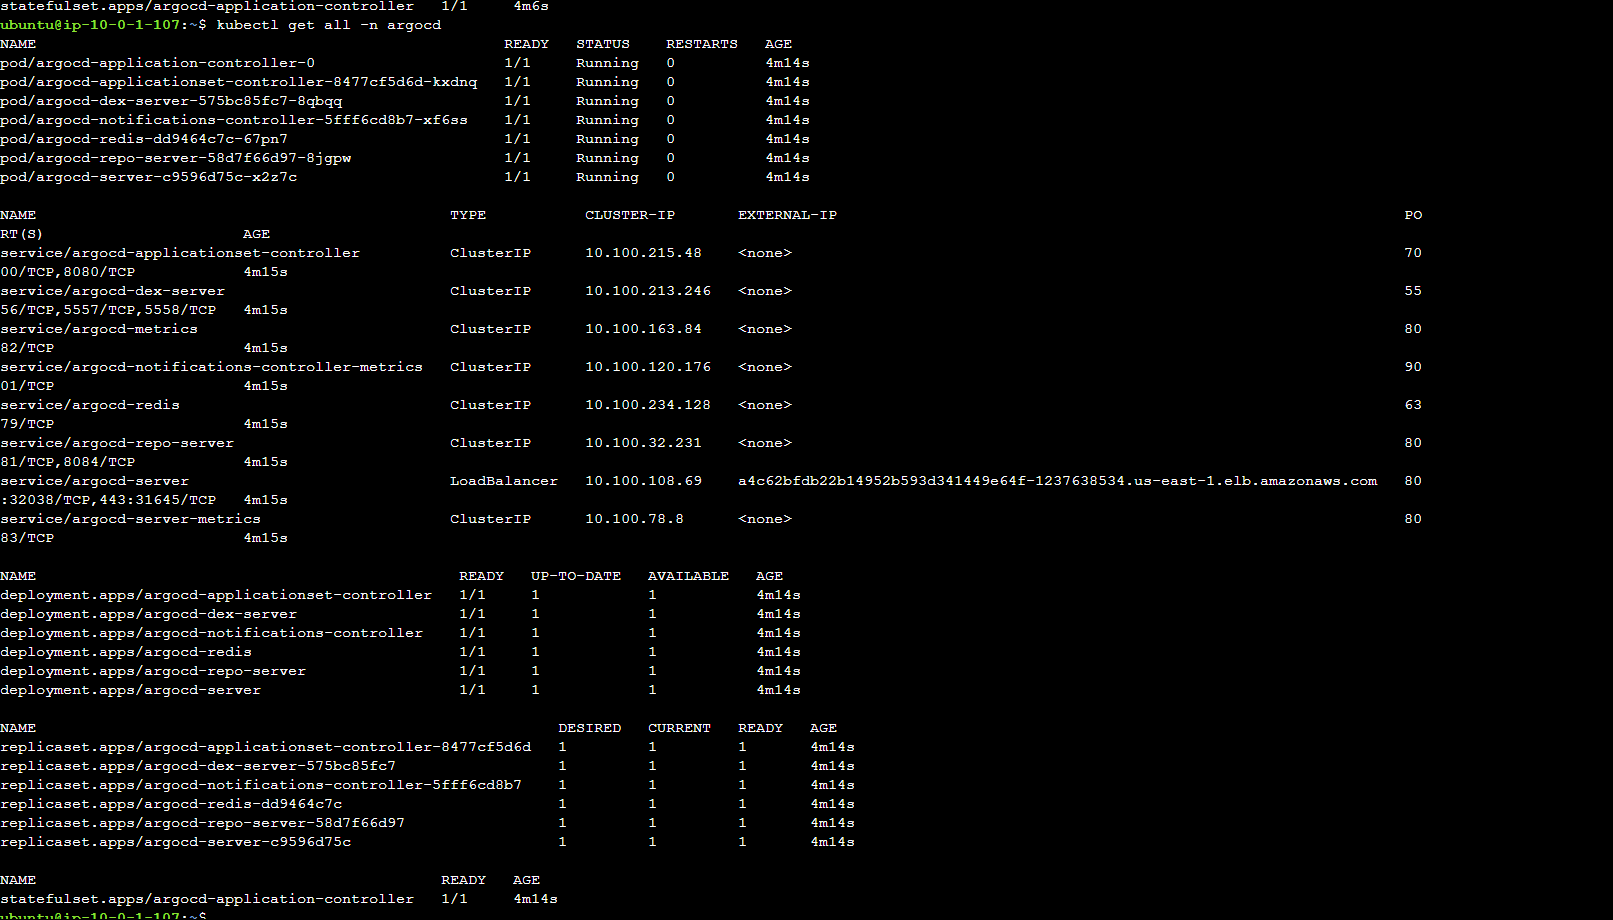
# Expose ArgoCD server
kubectl patch svc argocd-server -n argocd -p '{"spec": {"type": "LoadBalancer"}}'

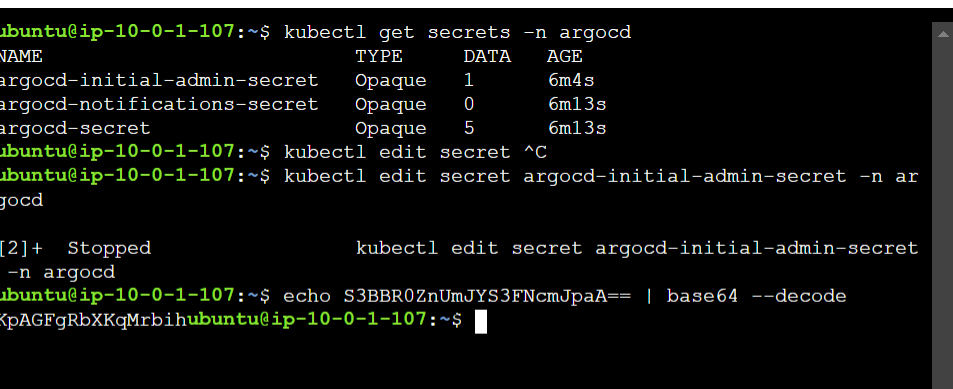
# Get initial admin password
kubectl -n argocd get secret argocd-initial-admin-secret -o jsonpath="{.data.password}" | base64 -d
Namespace and Secret Configuration
Prepare the target namespace for application deployment:
# Create application namespace
kubectl create namespace production

# Create ECR access secret
kubectl create secret generic ecr-registry-secret \
  --from-file=.dockerconfigjson=${HOME}/.docker/config.json \
  --type=kubernetes.io/dockerconfigjson \
  --namespace production
Phase 6: Code Quality and Security Integration
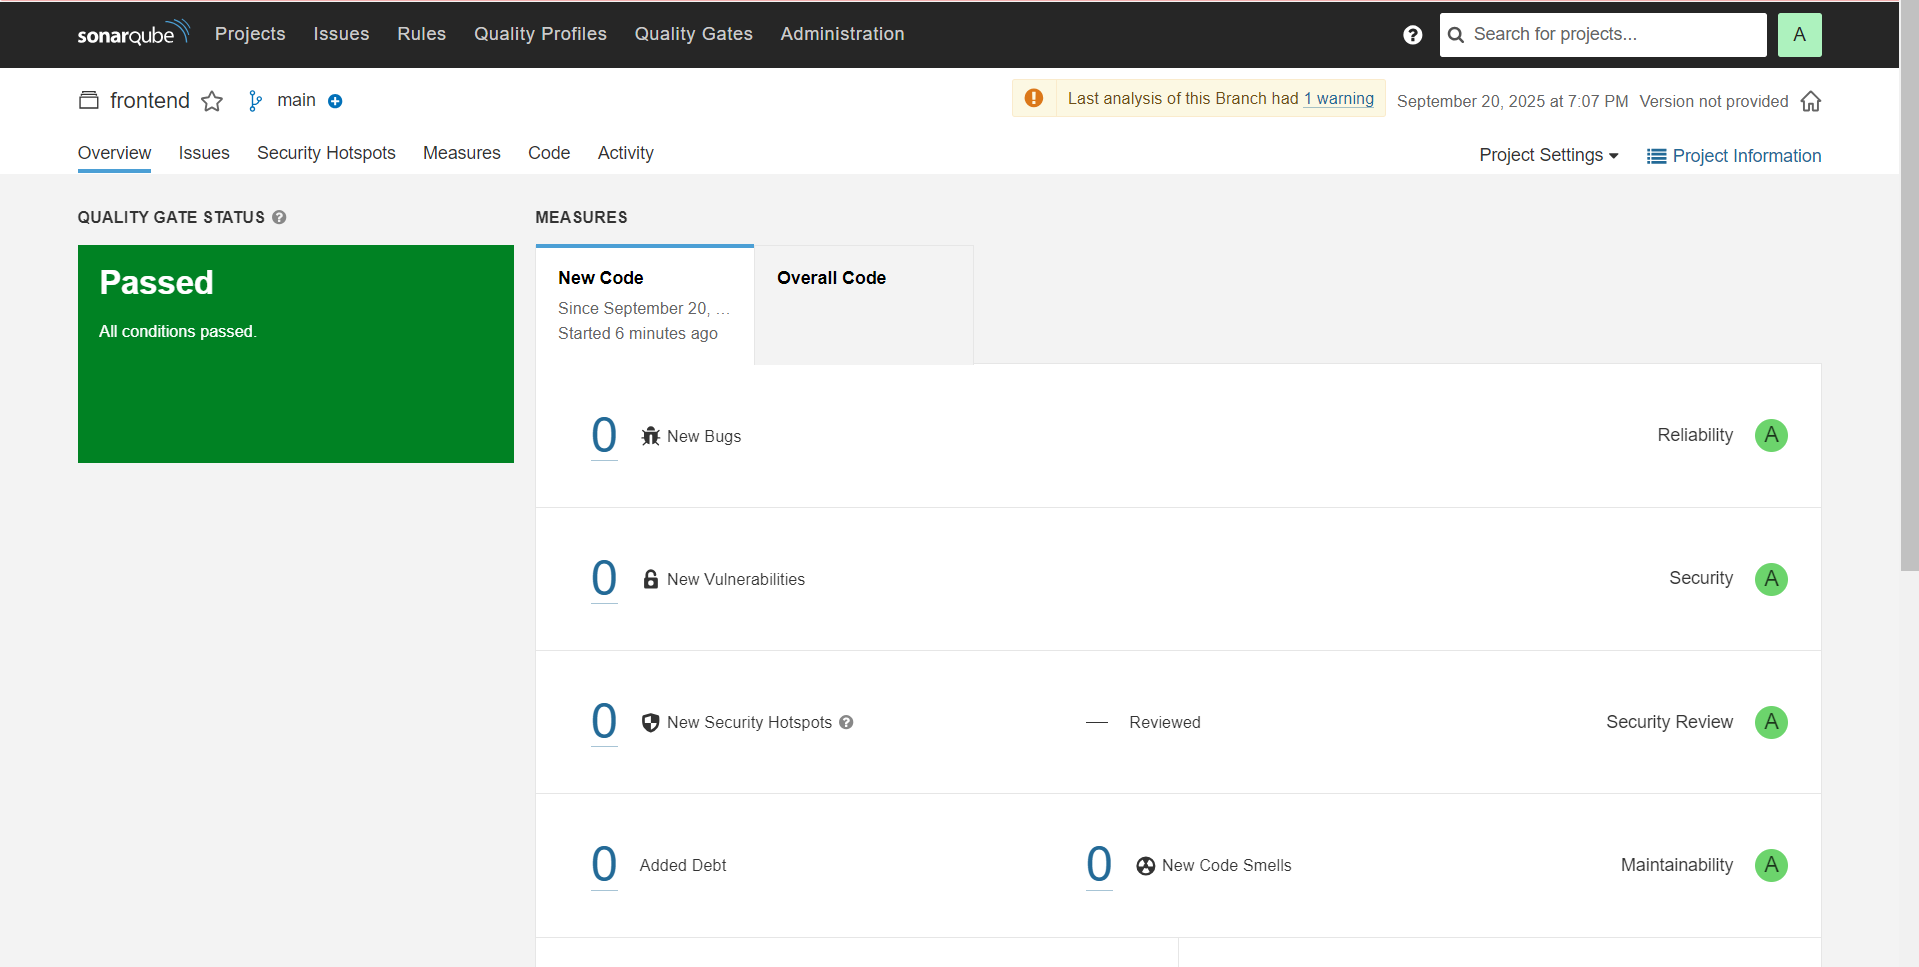
SonarQube Configuration
Configure code quality analysis:
Access SonarQube at
http://<jenkins-server-ip>:9000Login with default credentials (admin/admin)
Create projects for frontend and backend components
Generate authentication tokens
Configure quality gates and webhooks
Jenkins Plugin Installation
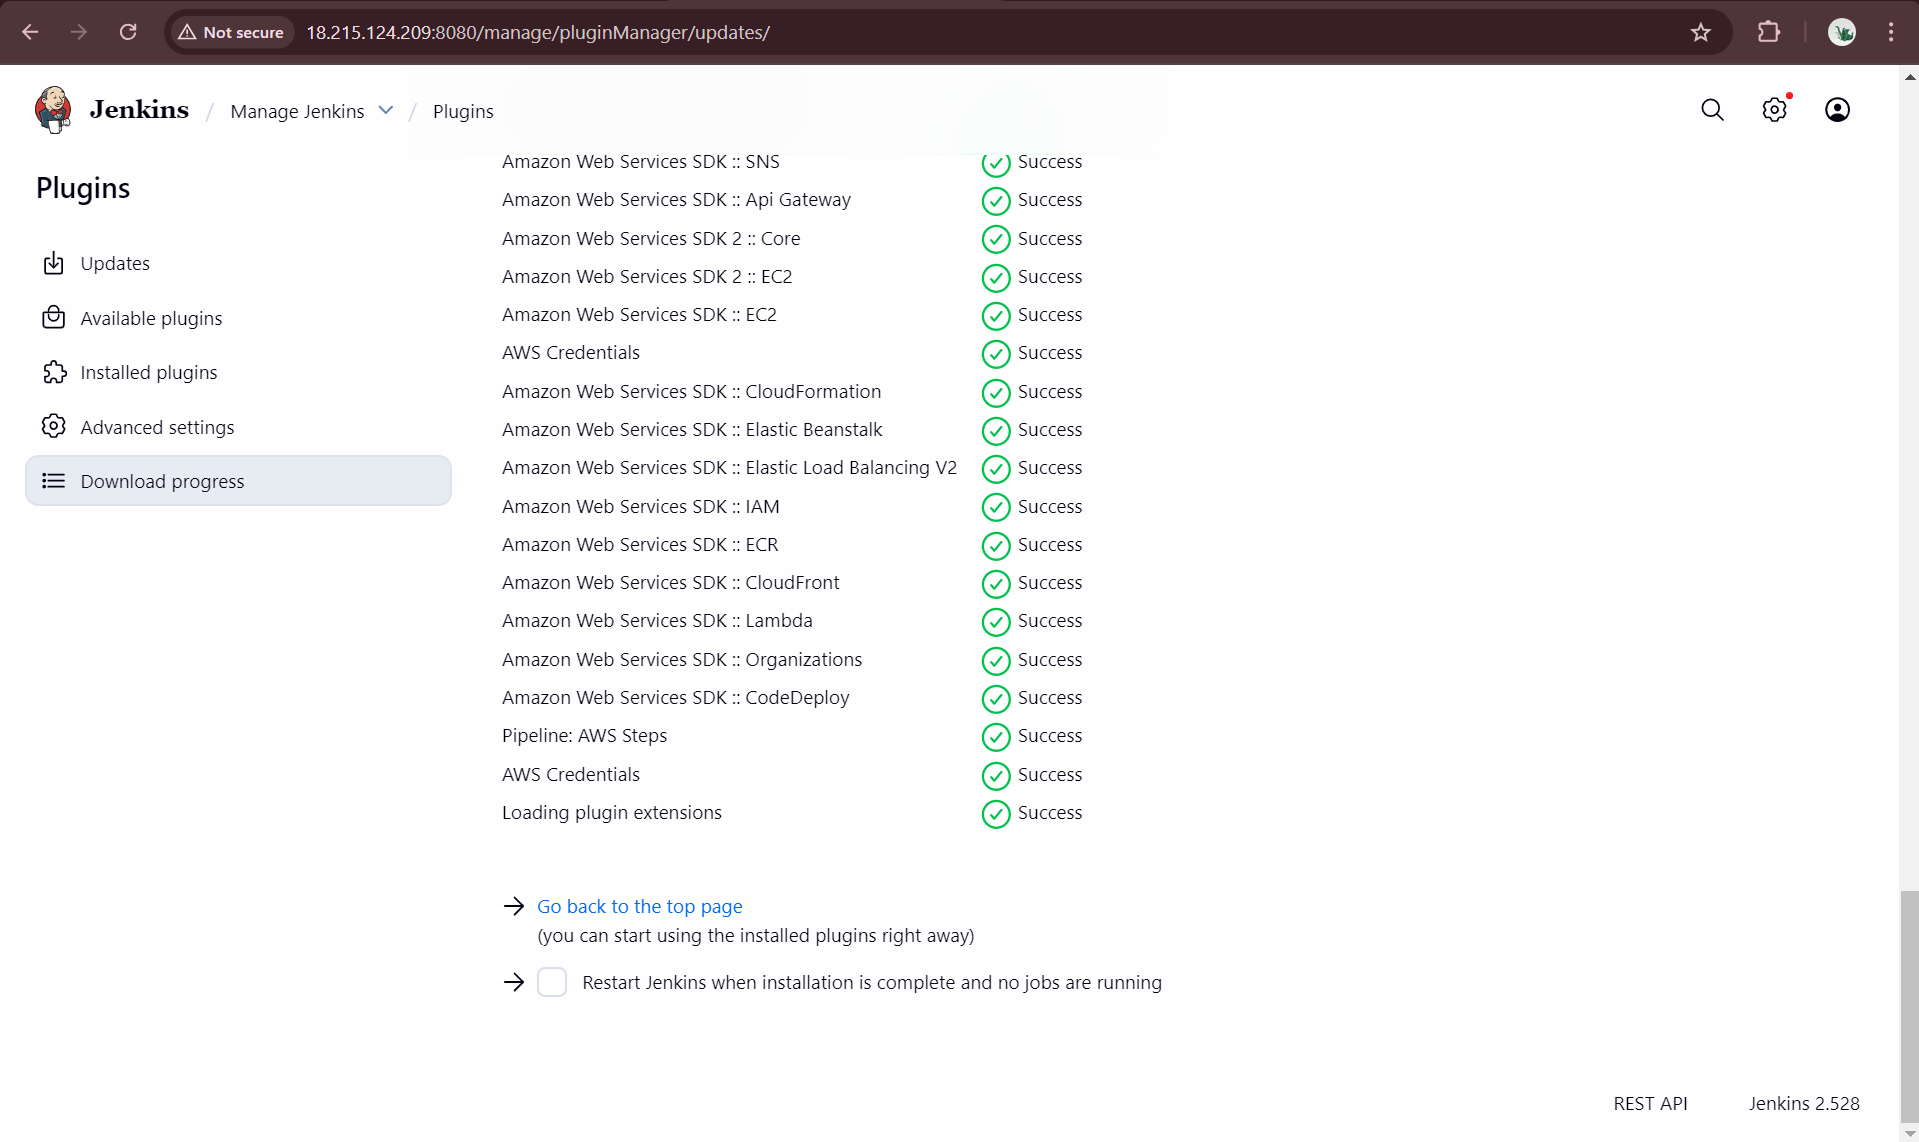
Install required Jenkins plugins:
AWS Credentials
Pipeline: AWS Steps
Docker Pipeline
SonarQube Scanner
OWASP Dependency-Check
NodeJS
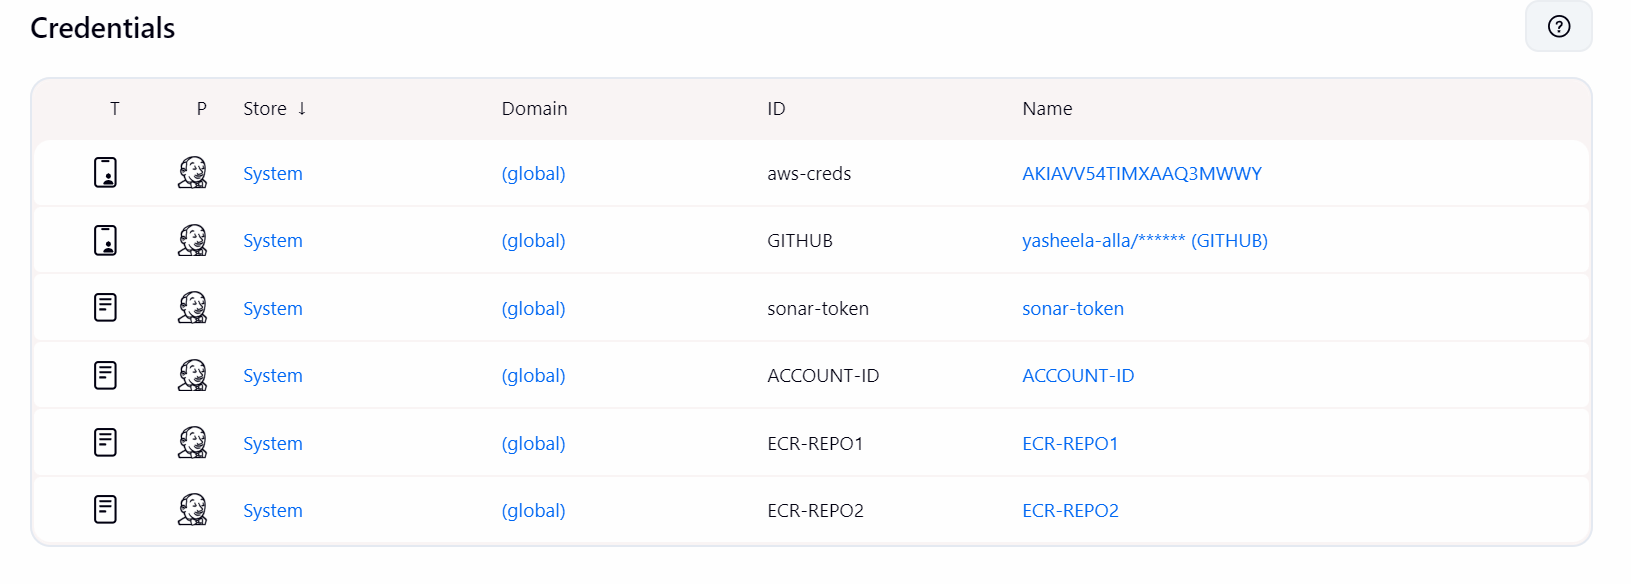
Configure global tools in Jenkins:
JDK installation
SonarQube Scanner
Node.js runtime
Docker engine
OWASP Dependency Check
Phase 7: CI/CD Pipeline Implementation
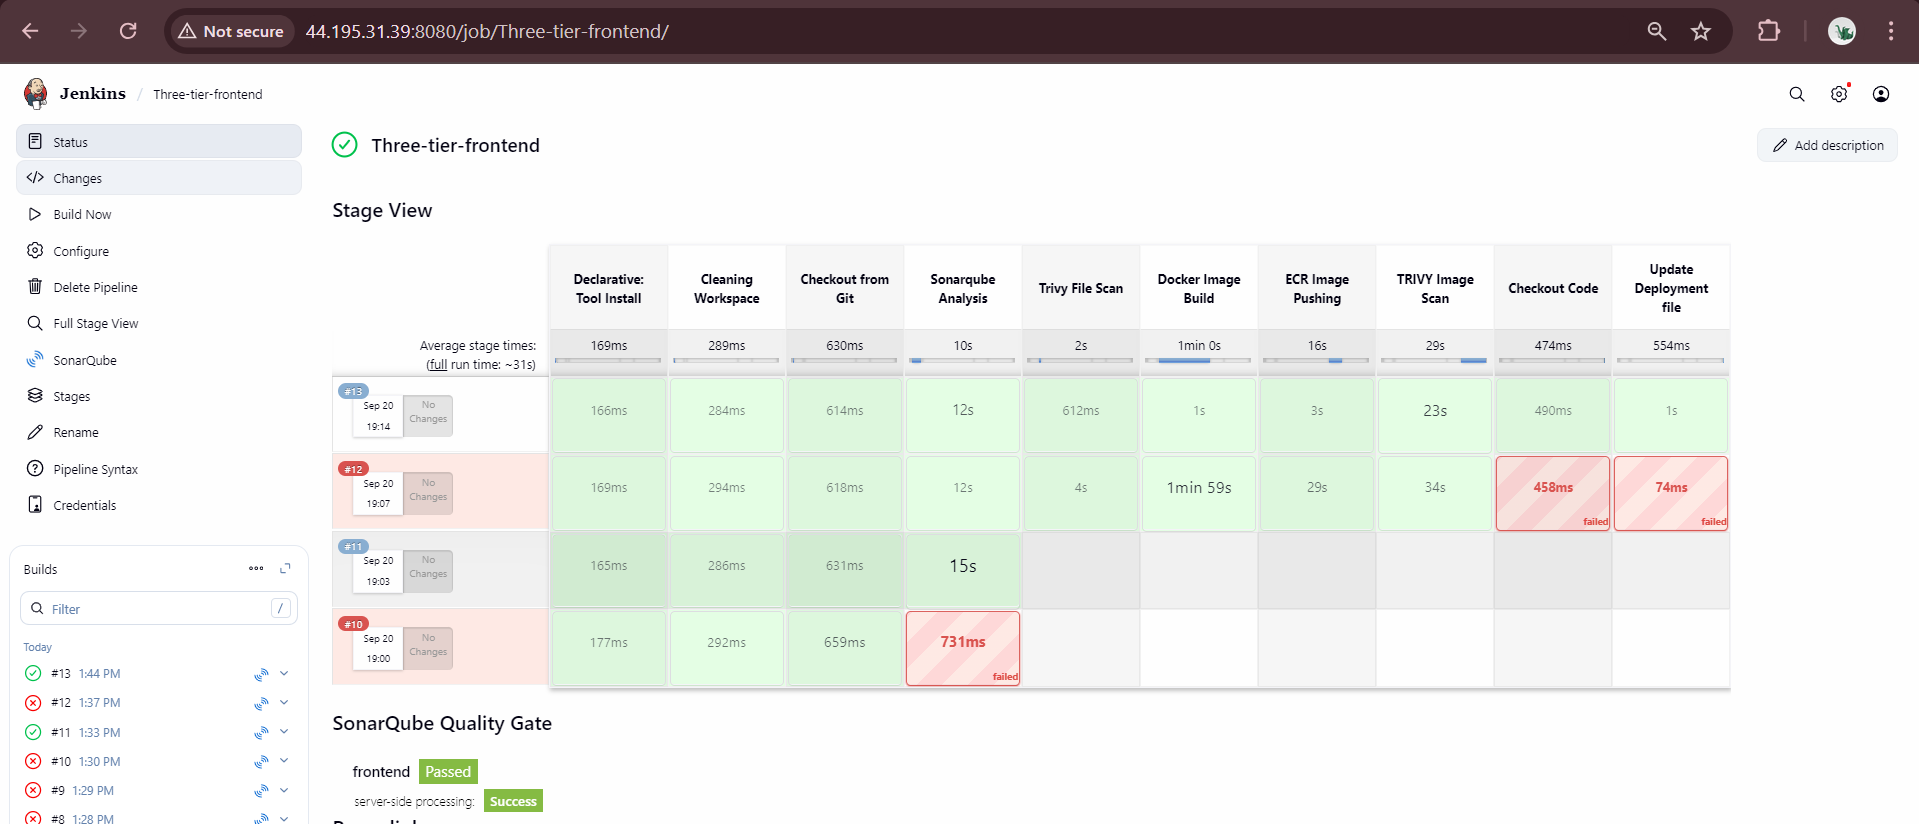
Backend Pipeline Configuration
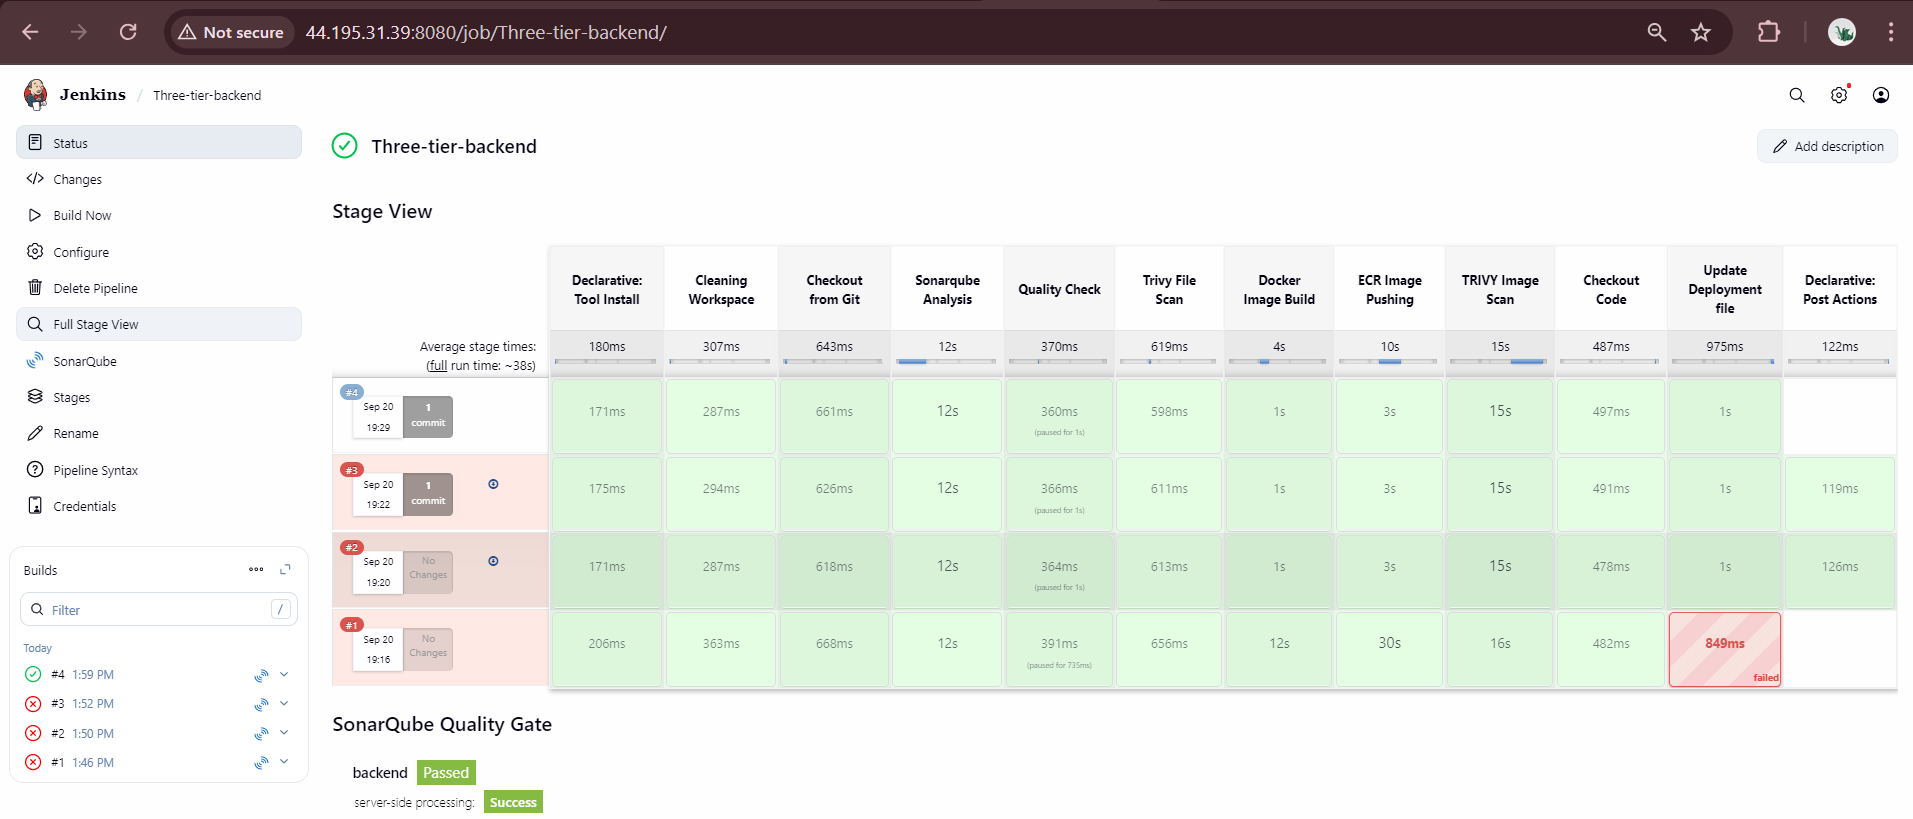
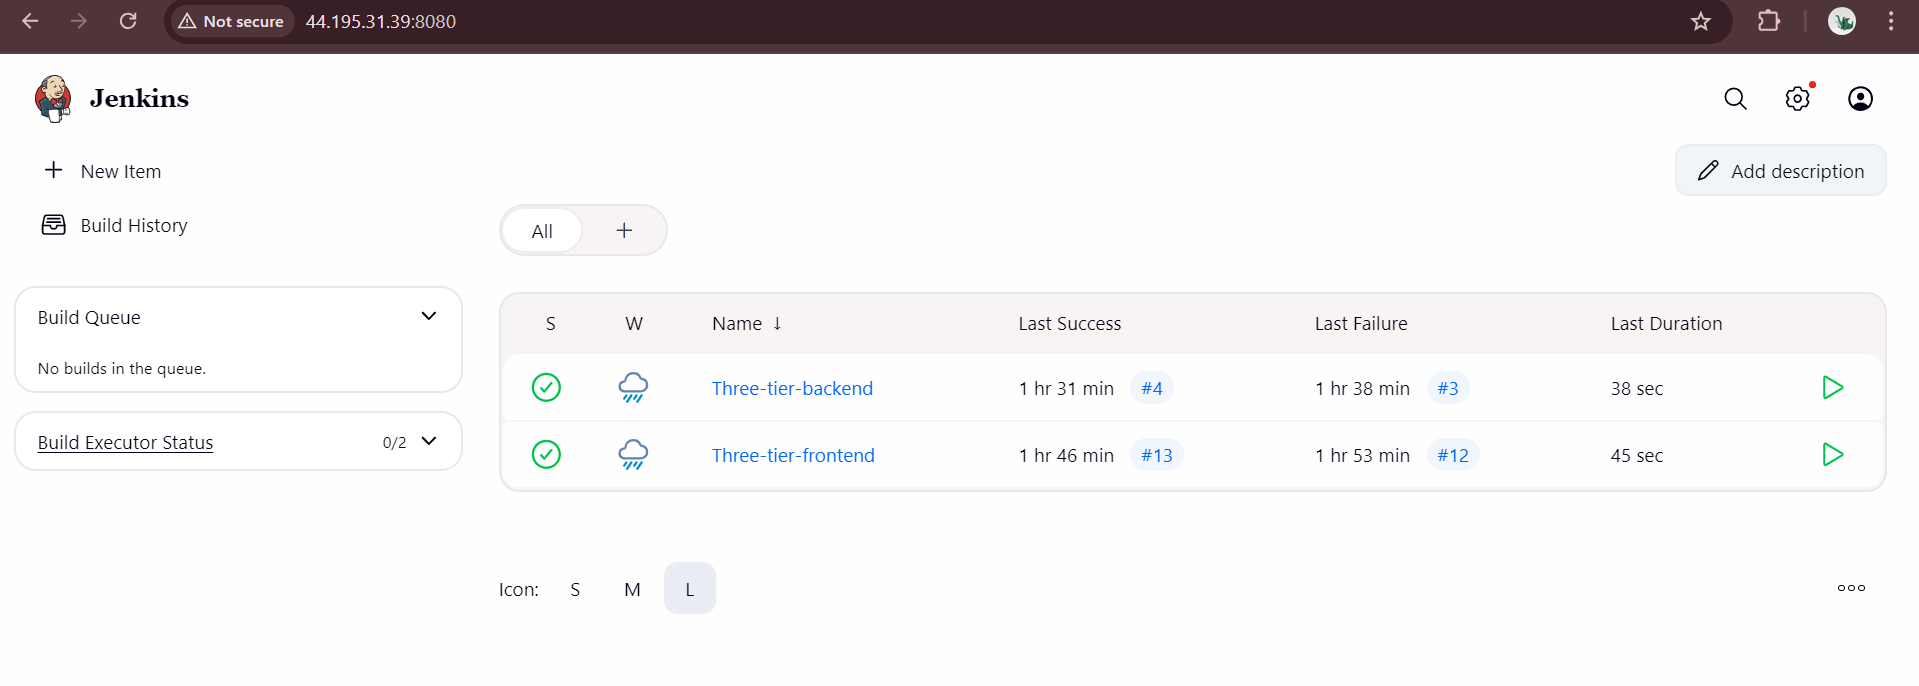
Create a comprehensive pipeline for the backend service:
pipeline {
    agent any

    environment {
        AWS_ACCOUNT_ID = credentials('aws-account-id')
        AWS_DEFAULT_REGION = 'us-east-1'
        IMAGE_REPO_NAME = 'backend-api'
        IMAGE_TAG = "${BUILD_NUMBER}"
        REPOSITORY_URI = "${AWS_ACCOUNT_ID}.dkr.ecr.${AWS_DEFAULT_REGION}.amazonaws.com/${IMAGE_REPO_NAME}"
    }

    stages {
        stage('Code Checkout') {
            steps {
                git credentialsId: 'github-credentials', url: 'https://github.com/your-repo/backend'
            }
        }

        stage('Code Quality Analysis') {
            steps {
                script {
                    withSonarQubeEnv('sonarqube-server') {
                        sh '''
                        sonar-scanner \
                        -Dsonar.projectKey=backend-service \
                        -Dsonar.sources=. \
                        -Dsonar.host.url=http://localhost:9000 \
                        -Dsonar.login=${SONAR_TOKEN}
                        '''
                    }
                }
            }
        }

        stage('Security Scan') {
            steps {
                script {
                    sh 'trivy fs . --format table -o trivy-report.html'
                }
            }
        }

        stage('Docker Build') {
            steps {
                script {
                    sh 'docker build -t ${IMAGE_REPO_NAME}:${IMAGE_TAG} .'
                }
            }
        }

        stage('Push to ECR') {
            steps {
                script {
                    sh '''
                    aws ecr get-login-password --region ${AWS_DEFAULT_REGION} | docker login --username AWS --password-stdin ${AWS_ACCOUNT_ID}.dkr.ecr.${AWS_DEFAULT_REGION}.amazonaws.com
                    docker tag ${IMAGE_REPO_NAME}:${IMAGE_TAG} ${REPOSITORY_URI}:${IMAGE_TAG}
                    docker push ${REPOSITORY_URI}:${IMAGE_TAG}
                    '''
                }
            }
        }

        stage('Update Deployment Manifest') {
            steps {
                script {
                    sh '''
                    git clone https://github.com/your-repo/k8s-manifests
                    cd k8s-manifests
                    sed -i "s/backend-api:.*$/backend-api:${IMAGE_TAG}/g" backend/deployment.yaml
                    git add .
                    git commit -m "Update backend image to ${IMAGE_TAG}"
                    git push origin main
                    '''
                }
            }
        }
    }
}
Phase 8: Monitoring and Observability
Prometheus and Grafana Deployment
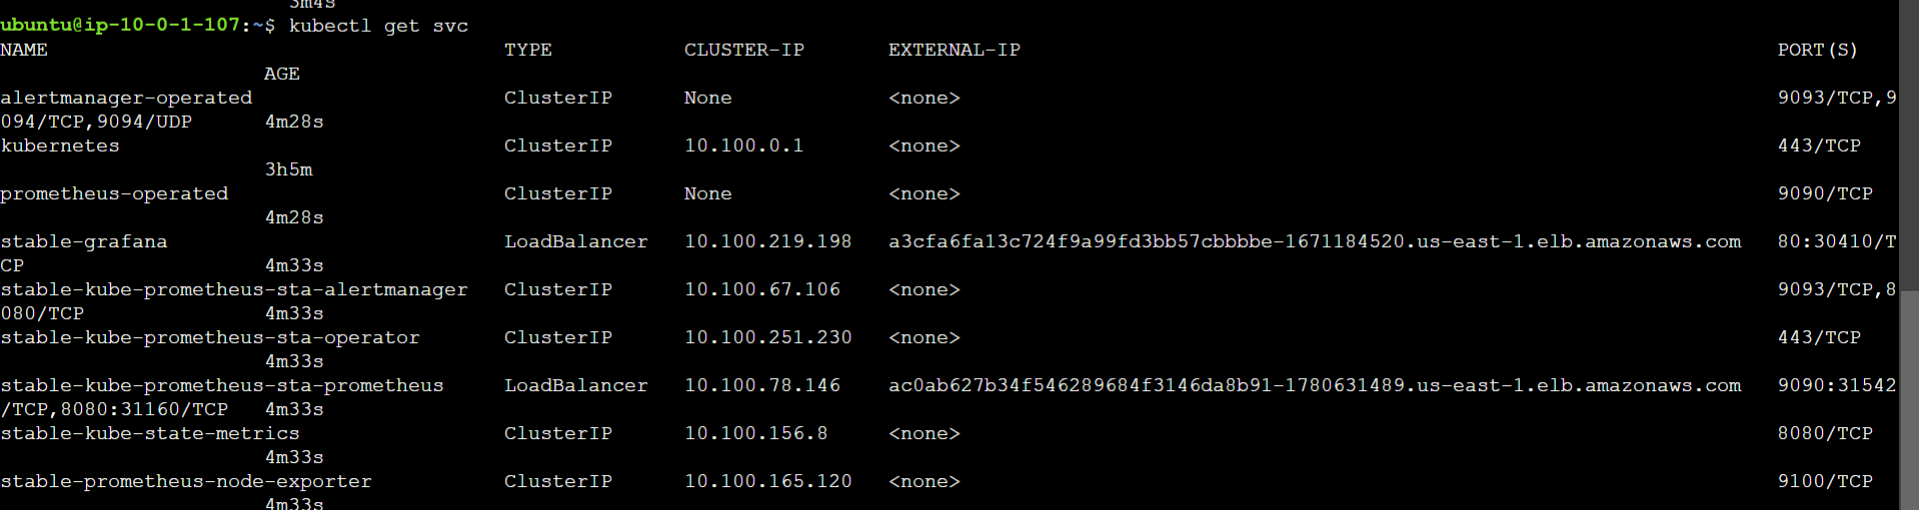
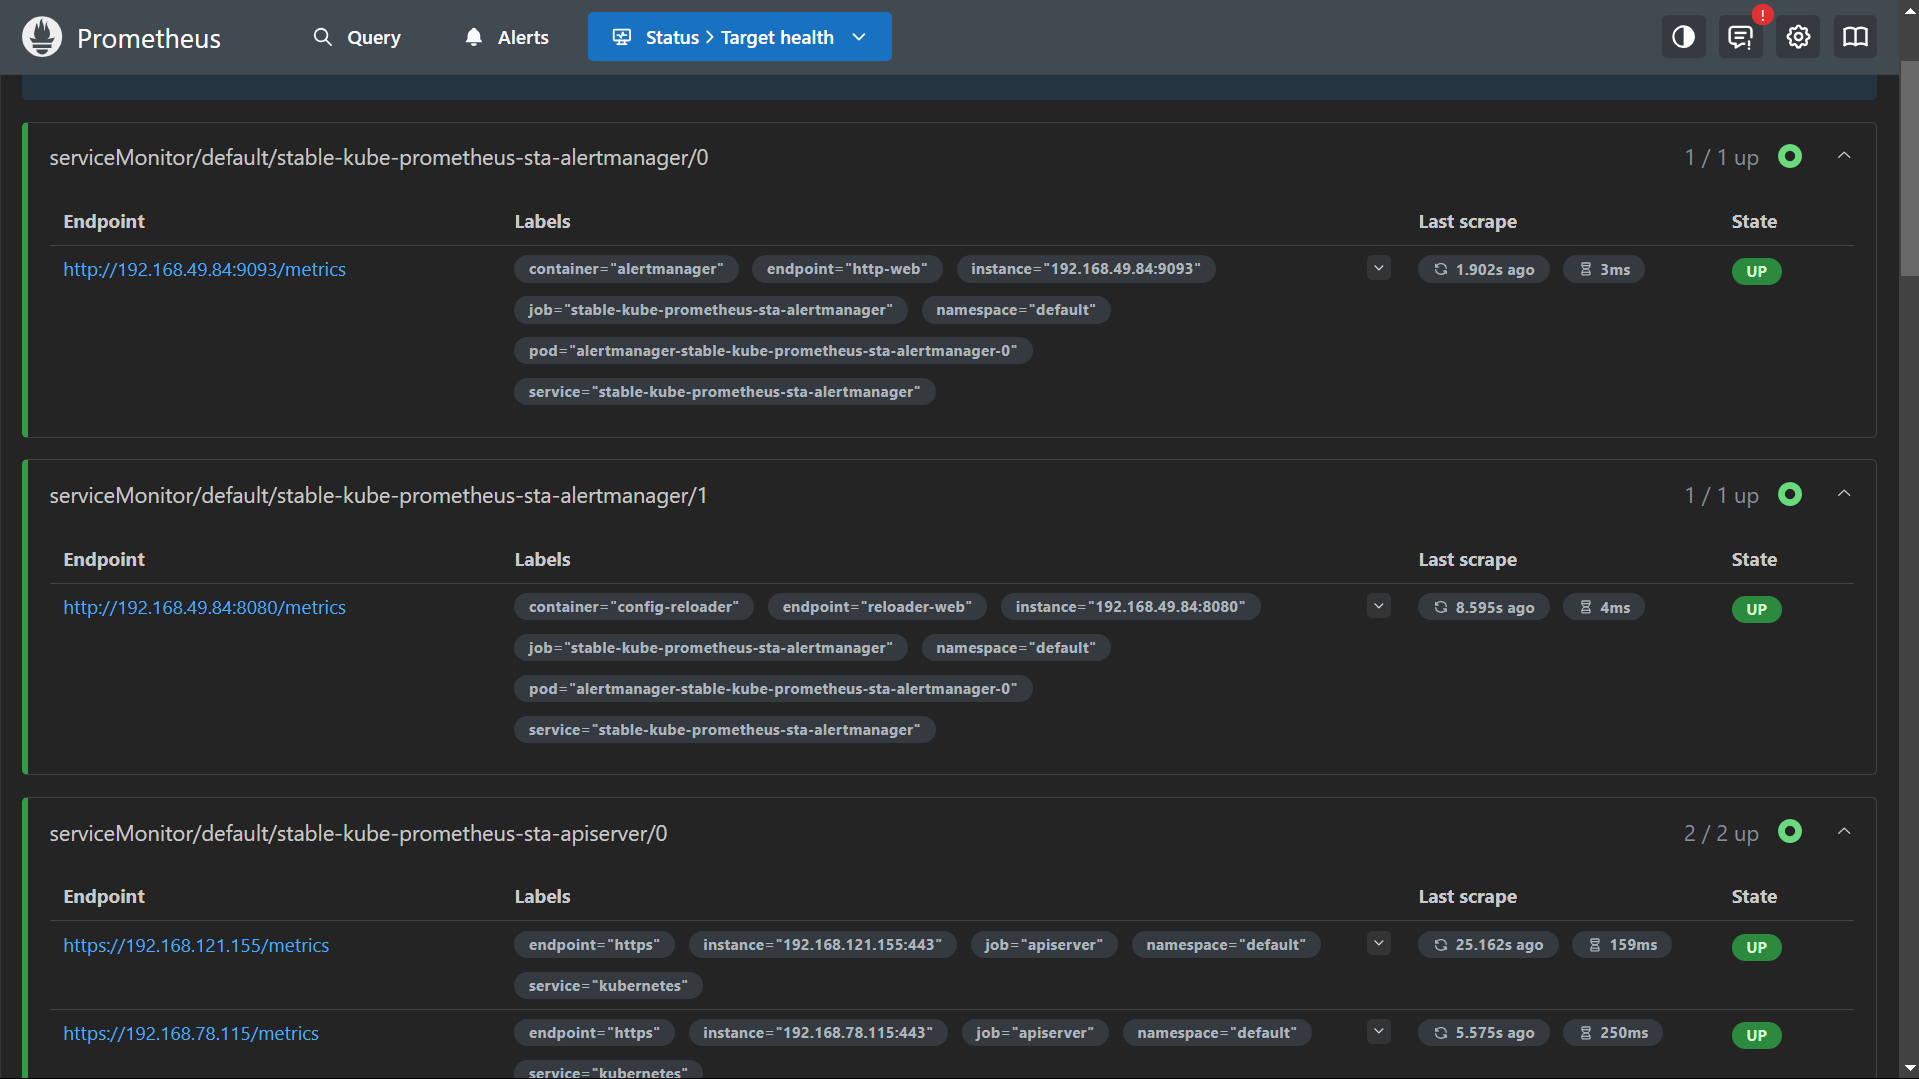
Implement comprehensive monitoring:
# Add Helm repositories
helm repo add prometheus-community https://prometheus-community.github.io/helm-charts
helm repo add grafana https://grafana.github.io/helm-charts
helm repo update

# Install Prometheus stack
helm install monitoring prometheus-community/kube-prometheus-stack \
  --namespace monitoring \
  --create-namespace \
  --set prometheus.service.type=LoadBalancer \
  --set grafana.service.type=LoadBalancer
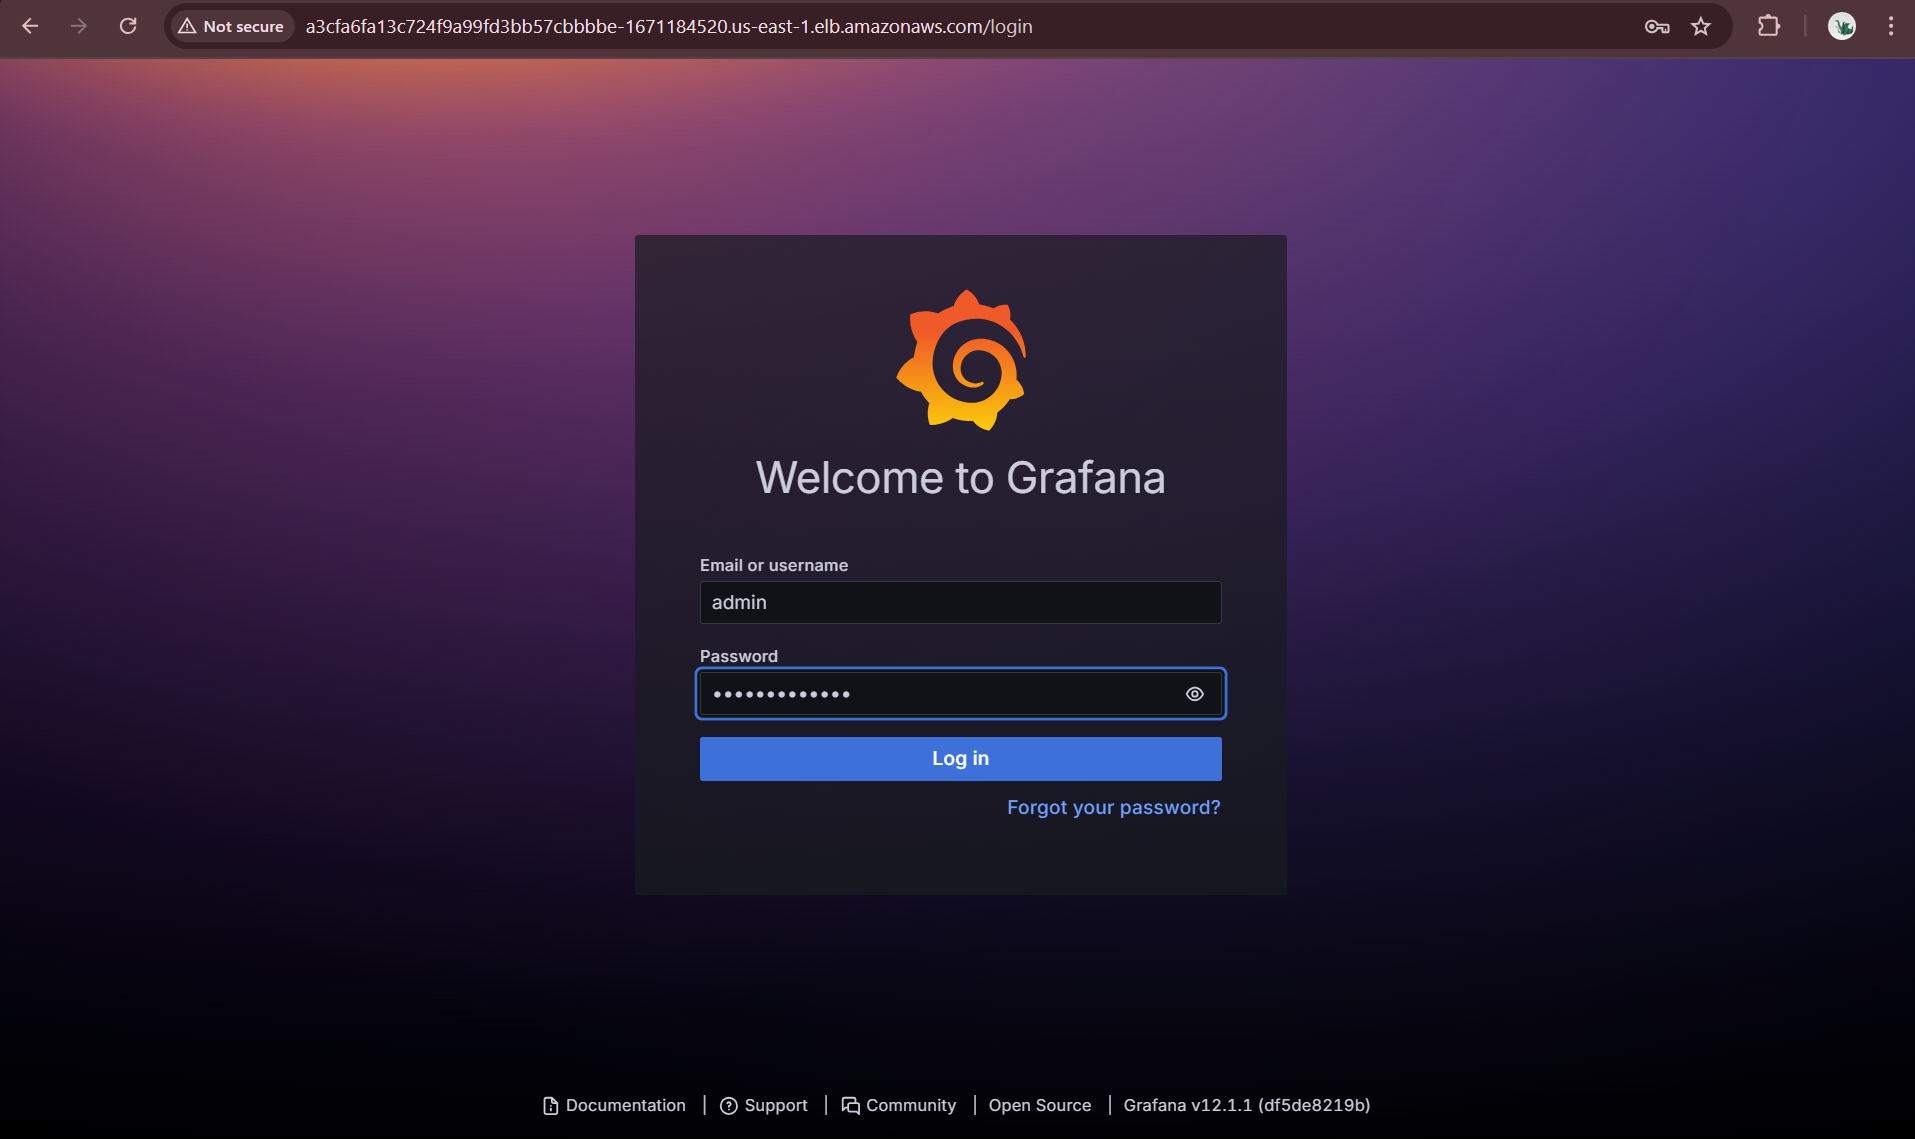
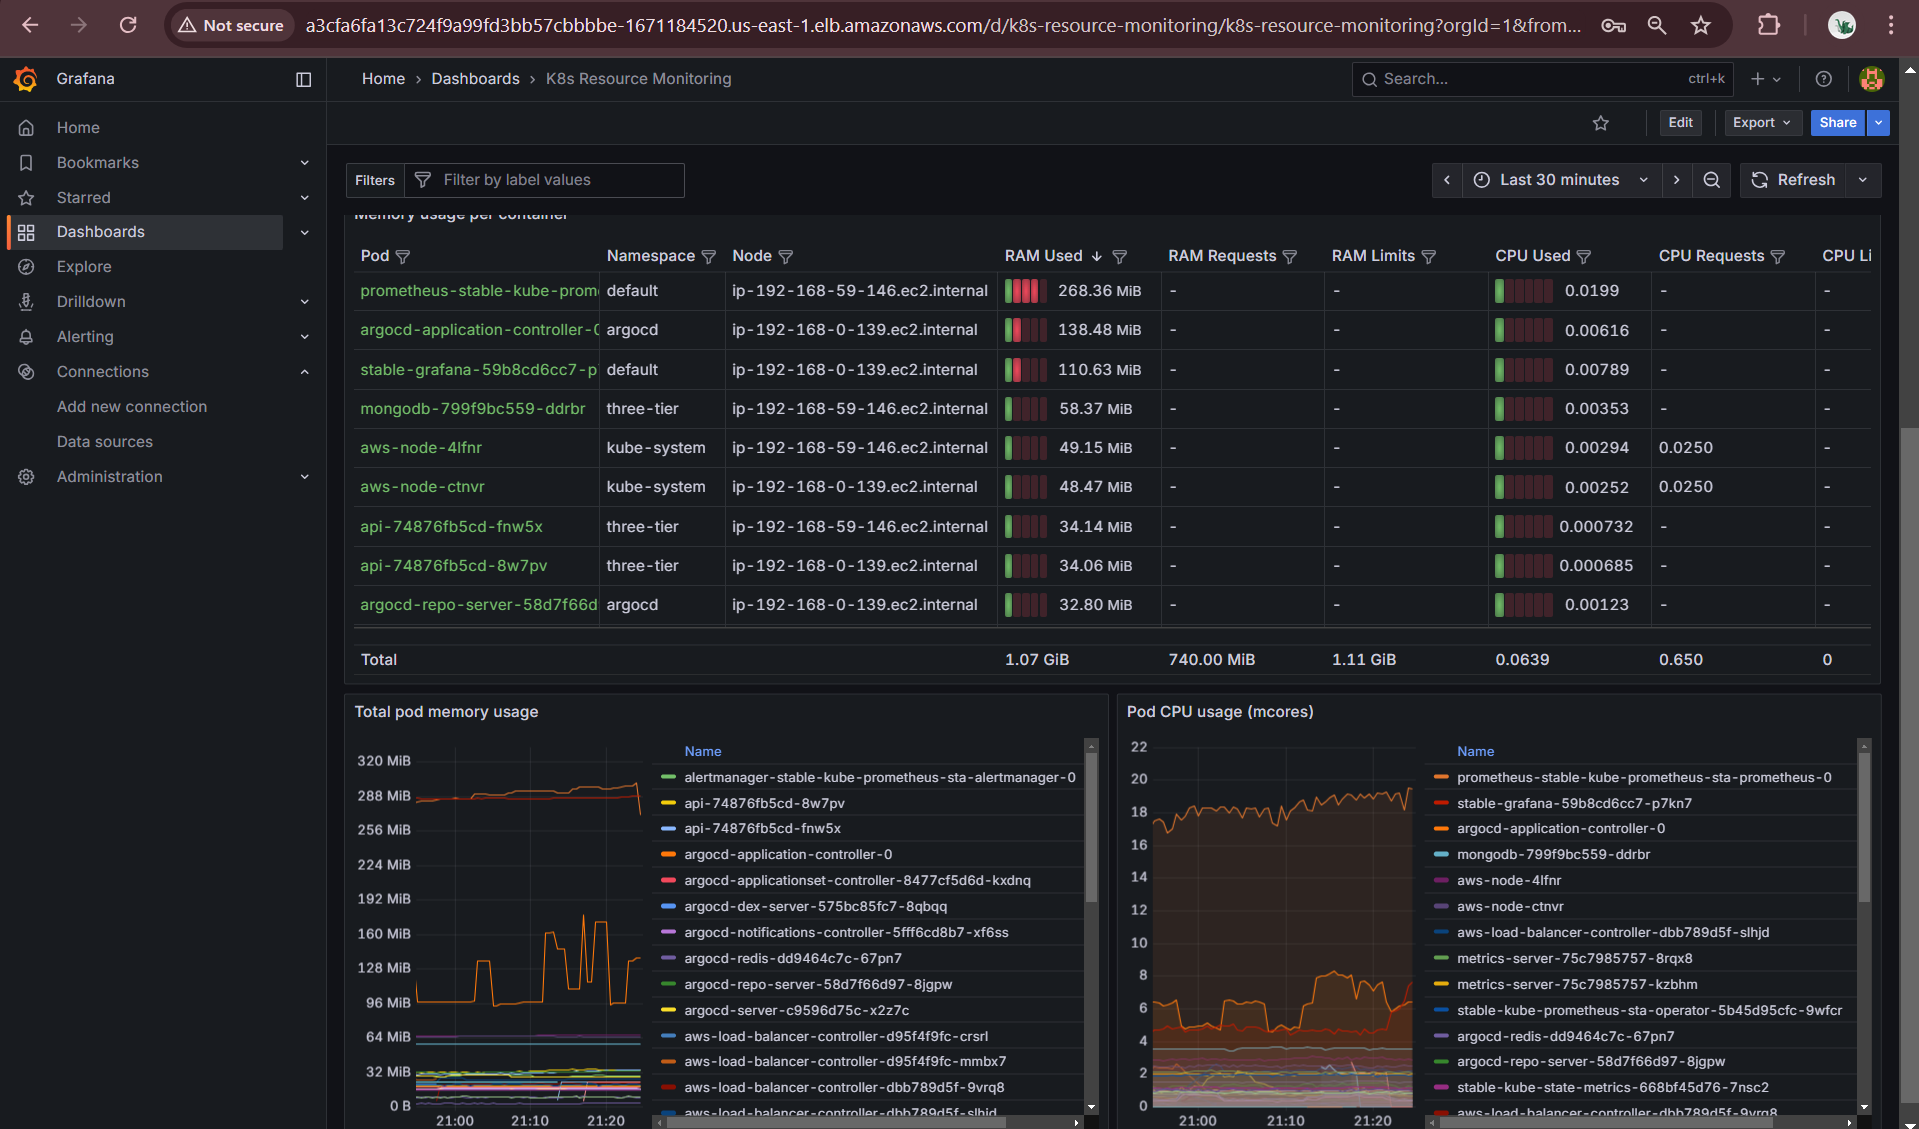
Dashboard Configuration
Configure Grafana dashboards:
Access Grafana using LoadBalancer DNS
Login with admin credentials
Configure Prometheus data source
Import Kubernetes monitoring dashboards
Create custom dashboards for application metrics
Phase 9: Application Deployment via GitOps
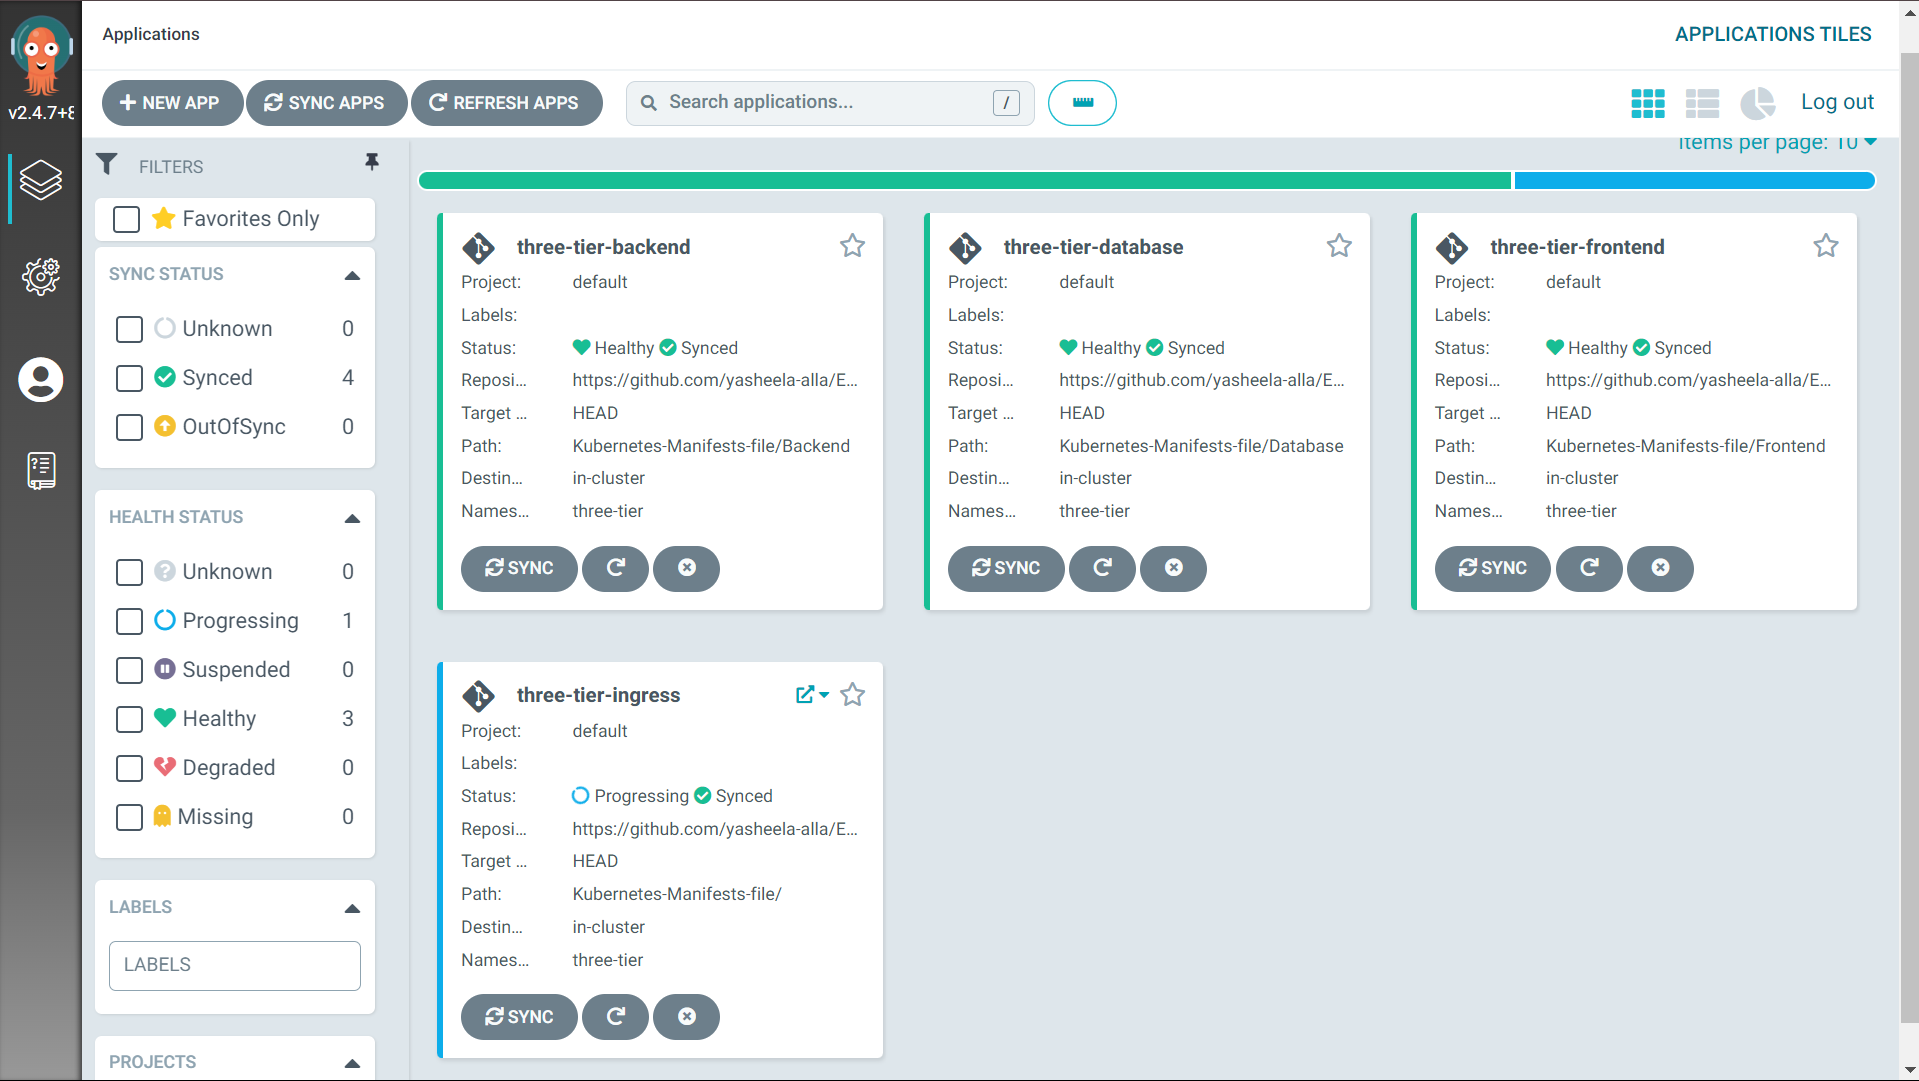
ArgoCD Application Configuration
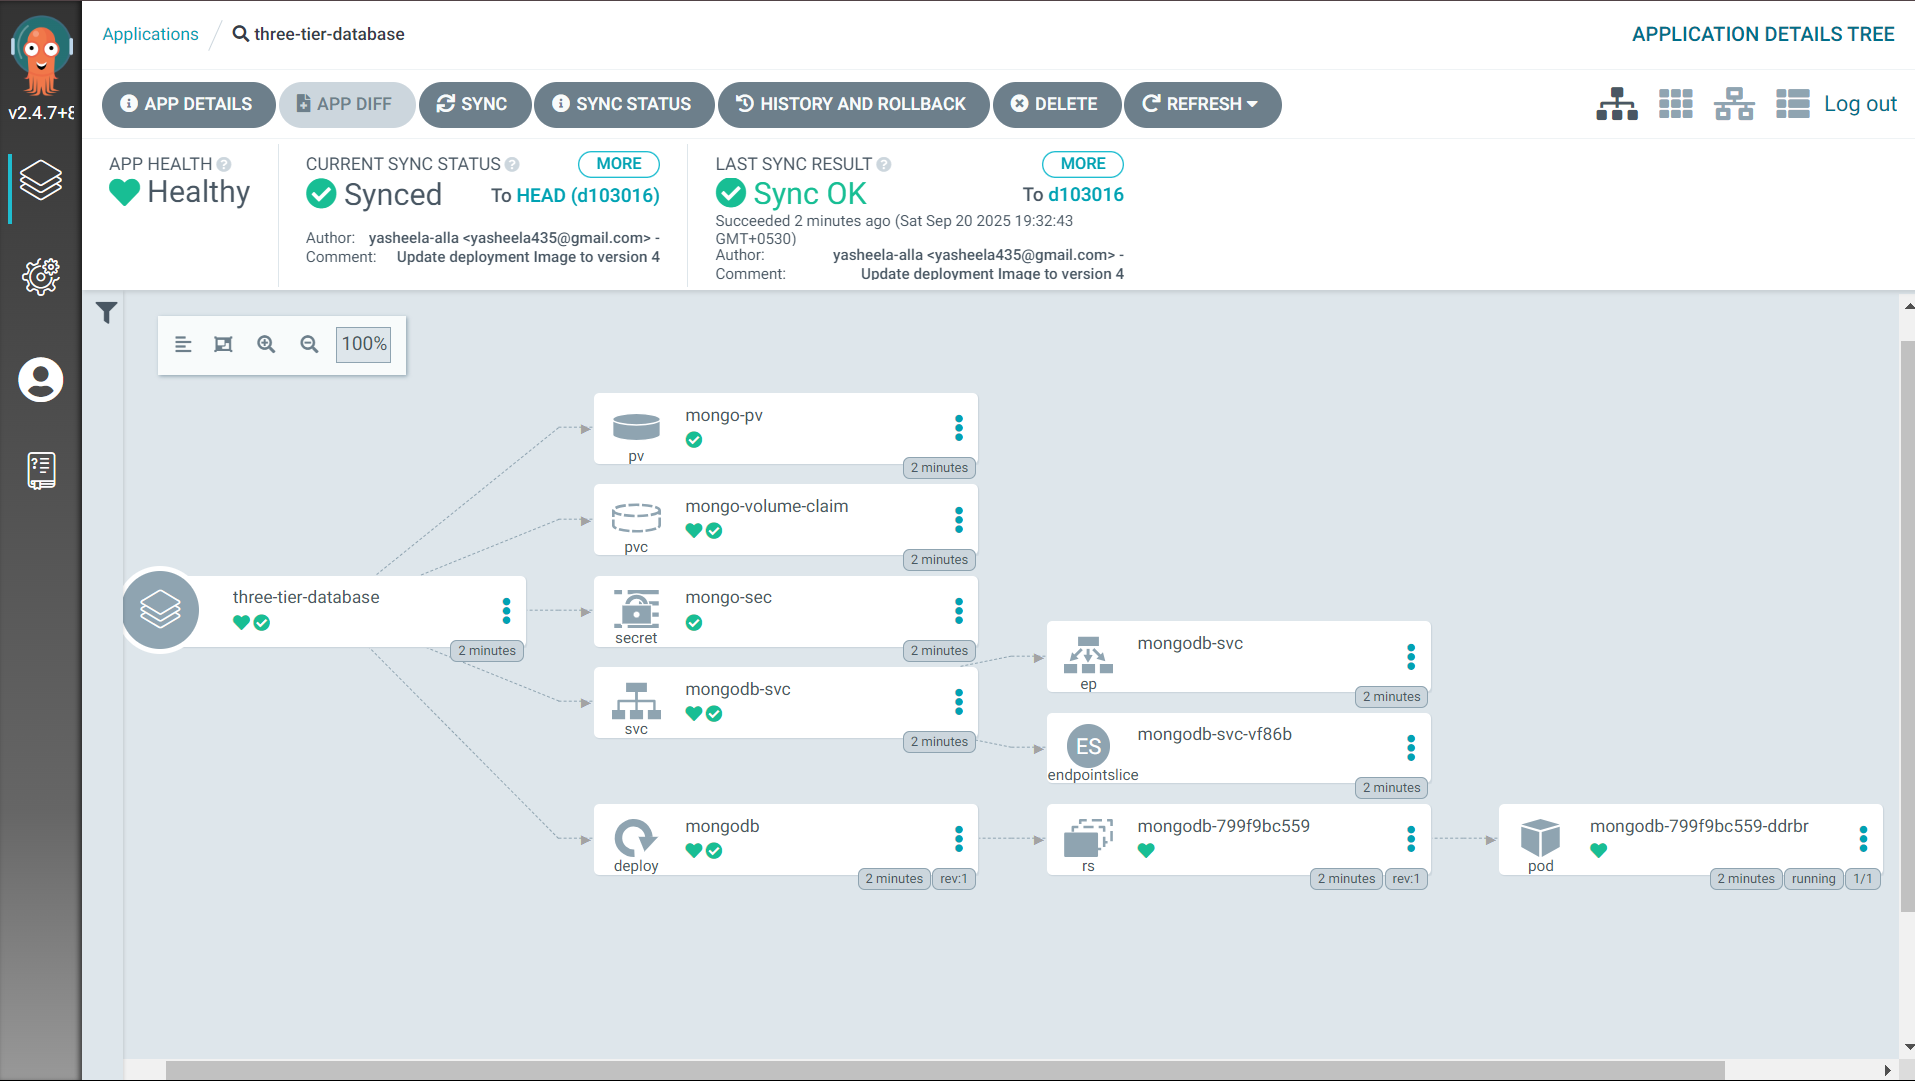
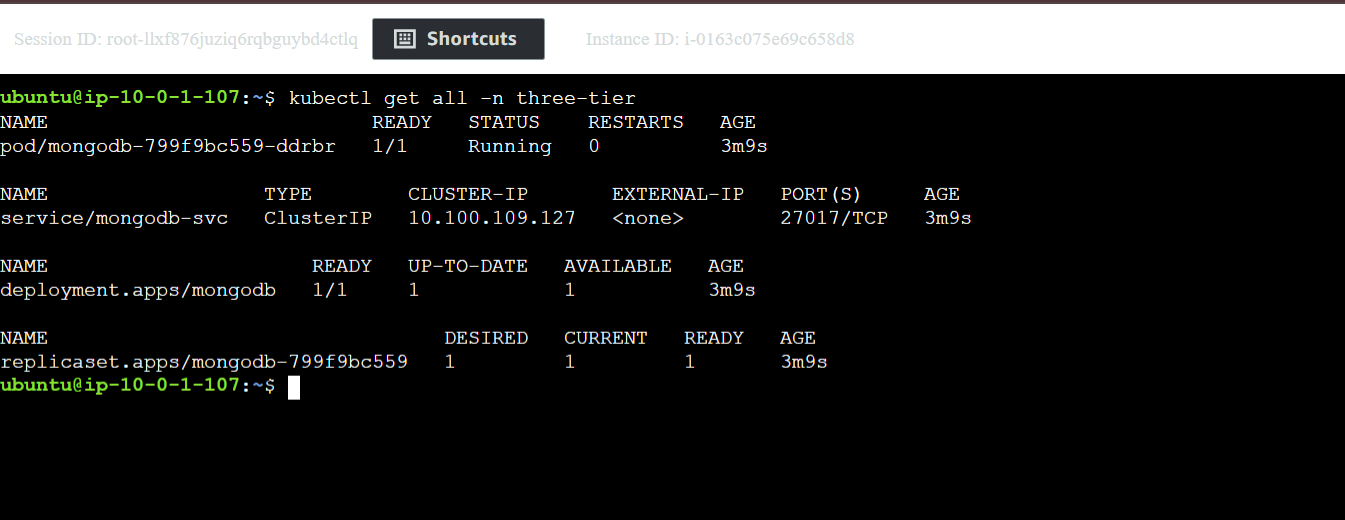
Deploy applications using ArgoCD:
Database Application: Configure PostgreSQL with persistent volumes
Backend Service: Deploy API service with health checks
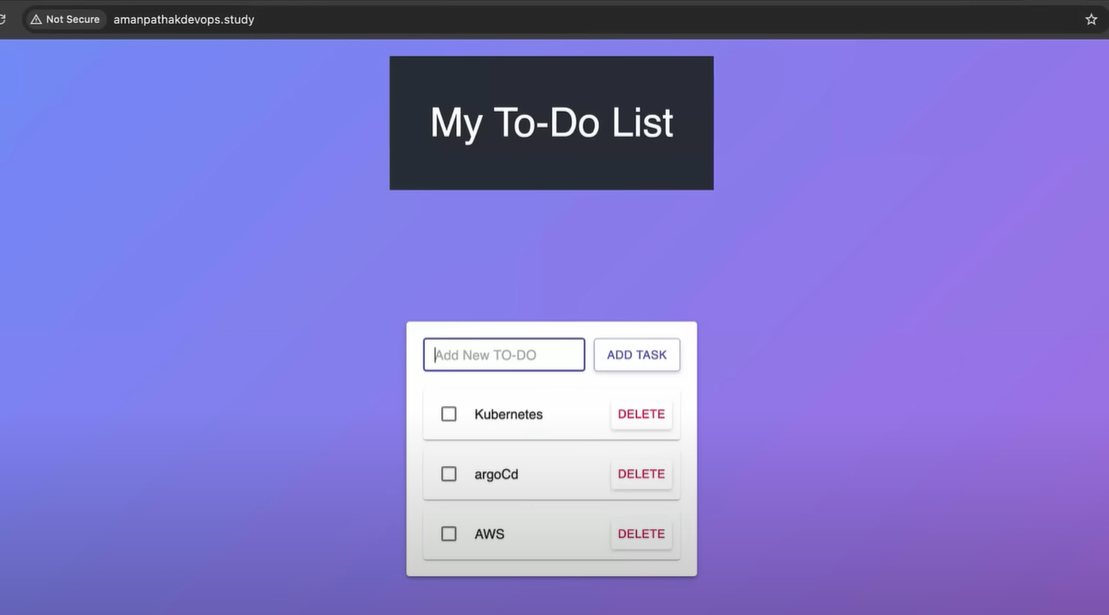
Frontend Application: Deploy React application with proper routing
Ingress Controller: Configure traffic routing and SSL termination
Example ArgoCD application manifest:
apiVersion: argoproj.io/v1alpha1
kind: Application
metadata:
  name: three-tier-backend
  namespace: argocd
spec:
  project: default
  source:
    repoURL: https://github.com/your-repo/k8s-manifests
    targetRevision: HEAD
    path: backend
  destination:
    server: https://kubernetes.default.svc
    namespace: production
  syncPolicy:
    automated:
      prune: true
      selfHeal: true
Phase 9: Infrastructure Cleanup and Destruction
Pre-Destruction Checklist
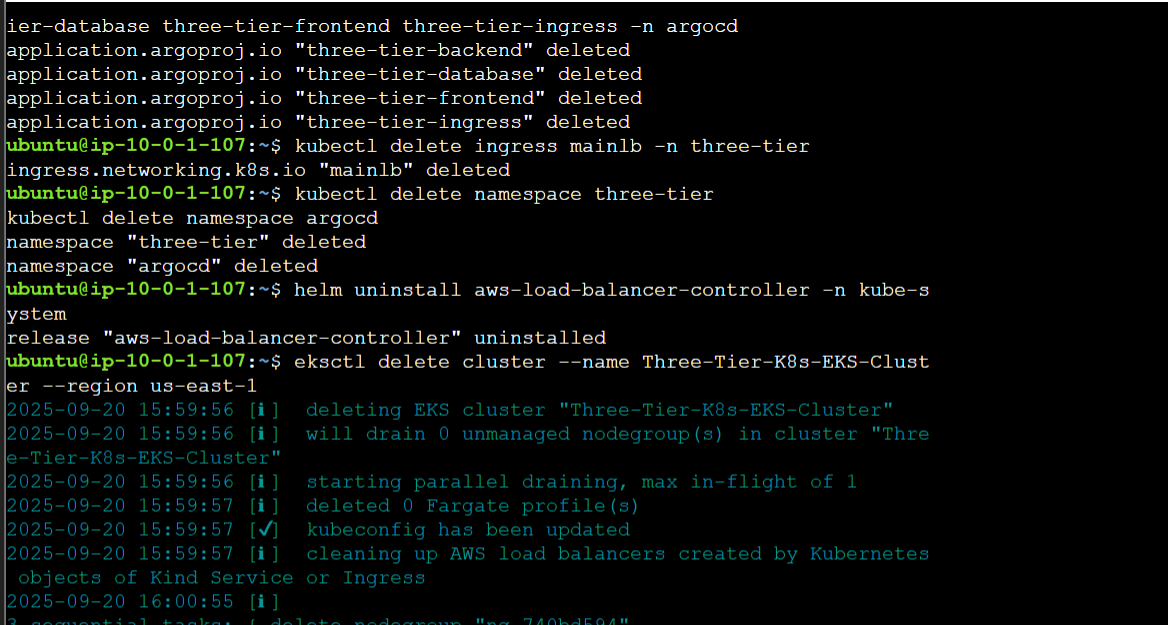
Before destroying the infrastructure, ensure proper cleanup to avoid orphaned resources and unnecessary costs:
1. Application Data Backup
bash
# Create database backup before destruction
kubectl exec -n production deployment/database -- pg_dump -U postgres myapp > backup-$(date +%Y%m%d).sql

# Backup persistent volume data
kubectl get pv -o yaml > persistent-volumes-backup.yaml
kubectl get pvc -n production -o yaml > persistent-volume-claims-backup.yaml
2. ArgoCD Application Cleanup
bash
# List all ArgoCD applications
argocd app list

# Delete applications in reverse dependency order
argocd app delete ingress-app --cascade
argocd app delete frontend-app --cascade
argocd app delete backend-app --cascade
argocd app delete database-app --cascade

# Verify applications are fully removed
kubectl get all -n production
3. EKS Cluster Resource Cleanup
bash
# Delete Load Balancers (to avoid orphaned AWS resources)
kubectl delete svc --all -n production
kubectl delete ingress --all -n production

# Remove monitoring stack
helm uninstall monitoring -n monitoring
kubectl delete namespace monitoring

# Clean up ArgoCD
kubectl delete namespace argocd

# Remove application namespace
kubectl delete namespace production
EKS Cluster Destruction
bash
# Delete EKS cluster and associated resources
eksctl delete cluster --name secure-three-tier-cluster --region us-east-1

# Verify cluster deletion
aws eks list-clusters --region us-east-1
ECR Repository Cleanup
bash
# List all images in repositories
aws ecr list-images --repository-name frontend-app --region us-east-1
aws ecr list-images --repository-name backend-api --region us-east-1

# Delete all images from repositories
aws ecr batch-delete-image \
    --repository-name frontend-app \
    --image-ids imageTag=latest \
    --region us-east-1

aws ecr batch-delete-image \
    --repository-name backend-api \
    --image-ids imageTag=latest \
    --region us-east-1

# Delete ECR repositories
aws ecr delete-repository --repository-name frontend-app --force --region us-east-1
aws ecr delete-repository --repository-name backend-api --force --region us-east-1
Terraform Infrastructure Destruction
1. Prepare Terraform Environment
bash
# Navigate to Terraform directory
cd Jenkins-Server-TF

# Verify Terraform state
terraform show
terraform state list
2. Review Resources Before Destruction
bash
# Generate destruction plan
terraform plan -destroy -var-file=variables.tfvars

# Review what will be destroyed
terraform show -json | jq '.planned_values.root_module.resources[]'
3. Execute Controlled Destruction
bash
# Destroy infrastructure with confirmation
terraform destroy -var-file=variables.tfvars

# For automated destruction (use with caution)
terraform destroy -var-file=variables.tfvars --auto-approve
Manual AWS Resource Cleanup
1. Load Balancers and Target Groups
bash
# List and delete any remaining load balancers
aws elbv2 describe-load-balancers --query 'LoadBalancers[?contains(LoadBalancerName, `k8s-`) == `true`]'
aws elbv2 delete-load-balancer --load-balancer-arn <arn>

# Delete target groups
aws elbv2 describe-target-groups --query 'TargetGroups[?contains(TargetGroupName, `k8s-`) == `true`]'
aws elbv2 delete-target-group --target-group-arn <arn>
2. Security Groups
bash
# List EKS-related security groups
aws ec2 describe-security-groups --filters "Name=group-name,Values=*eks*" --query 'SecurityGroups[*].[GroupId,GroupName]'

# Delete security groups (delete in correct order due to dependencies)
aws ec2 delete-security-group --group-id sg-xxxxxxxxx
3. IAM Roles and Policies
bash
# List and clean up EKS-related IAM resources
aws iam list-roles --query 'Roles[?contains(RoleName, `eks`) == `true`]'

# Detach policies before deleting roles
aws iam detach-role-policy --role-name eksctl-secure-three-tier-cluster-nodegroup-NodeInstanceRole --policy-arn arn:aws:iam::aws:policy/AmazonEKSWorkerNodePolicy

# Delete custom policies
aws iam delete-policy --policy-arn arn:aws:iam::ACCOUNT-ID:policy/AWSLoadBalancerControllerIAMPolicy
4. VPC and Networking Resources
bash
# List VPCs created by eksctl
aws ec2 describe-vpcs --filters "Name=tag:Name,Values=*eksctl*" --query 'Vpcs[*].[VpcId,Tags[?Key==`Name`].Value|[0]]'

# Note: VPC deletion is typically handled by eksctl, but verify manually
Cost Optimization During Cleanup
1. Immediate Cost Savings
bash
# Stop running EC2 instances before destruction
aws ec2 describe-instances --filters "Name=tag:Name,Values=*jenkins*" --query 'Reservations[*].Instances[*].[InstanceId,State.Name]'
aws ec2 stop-instances --instance-ids i-xxxxxxxxx

# Release Elastic IPs
aws ec2 describe-addresses --filters "Name=domain,Values=vpc" --query 'Addresses[*].[AllocationId,PublicIp]'
aws ec2 release-address --allocation-id eipalloc-xxxxxxxxx
2. Storage Cleanup
bash
# Delete EBS snapshots
aws ec2 describe-snapshots --owner-ids self --query 'Snapshots[*].[SnapshotId,Description]'
aws ec2 delete-snapshot --snapshot-id snap-xxxxxxxxx

# Clean up unused EBS volumes
aws ec2 describe-volumes --filters "Name=status,Values=available" --query 'Volumes[*].[VolumeId,Size,CreateTime]'
aws ec2 delete-volume --volume-id vol-xxxxxxxxx
Verification and Final Cleanup
1. Resource Verification Script
bash
#!/bin/bash
# verify-cleanup.sh - Verify all resources are properly cleaned up

echo "Checking for remaining EKS clusters..."
aws eks list-clusters --region us-east-1

echo "Checking for remaining EC2 instances..."
aws ec2 describe-instances --filters "Name=instance-state-name,Values=running,stopped" --query 'Reservations[*].Instances[*].[InstanceId,Tags[?Key==`Name`].Value|[0],State.Name]'

echo "Checking for remaining Load Balancers..."
aws elbv2 describe-load-balancers --query 'LoadBalancers[*].[LoadBalancerName,State.Code]'

echo "Checking for remaining ECR repositories..."
aws ecr describe-repositories --query 'repositories[*].repositoryName'

echo "Checking for unattached EBS volumes..."
aws ec2 describe-volumes --filters "Name=status,Values=available" --query 'Volumes[*].[VolumeId,Size,CreateTime]'

echo "Checking for unused Elastic IPs..."
aws ec2 describe-addresses --filters "Name=domain,Values=vpc" --query 'Addresses[?AssociationId==null].[AllocationId,PublicIp]'

echo "Cleanup verification complete!"
2. Cost Analysis
bash
# Generate cost report for the project period
aws ce get-cost-and-usage \
    --time-period Start=2024-01-01,End=2024-01-31 \
    --granularity MONTHLY \
    --metrics "BlendedCost" \
    --group-by Type=DIMENSION,Key=SERVICE
Terraform State Management
1. State Cleanup
bash
# Backup Terraform state before cleanup
cp terraform.tfstate terraform.tfstate.backup-$(date +%Y%m%d)

# Clean up Terraform state
terraform state list
terraform state rm <resource_name>  # if needed for orphaned resources

# Remove state file after successful destruction
rm terraform.tfstate*
2. Remote State Cleanup
bash
# If using S3 backend, clean up state files
aws s3 rm s3://your-terraform-state-bucket/terraform.tfstate
aws s3 rm s3://your-terraform-state-bucket/terraform.tfstate.backup

# Clean up DynamoDB lock table if used
aws dynamodb delete-table --table-name terraform-state-lock
Best Practices for Future Deployments
1. Tagging Strategy Implement consistent tagging for easier cleanup:
hcl
# terraform/variables.tf
variable "common_tags" {
  type = map(string)
  default = {
    Project     = "three-tier-devsecops"
    Environment = "development"
    ManagedBy   = "terraform"
    Owner       = "devops-team"
  }
}
2. Automated Cleanup Scripts Create cleanup automation:
bash
#!/bin/bash
# automated-cleanup.sh
set -e

echo "Starting automated cleanup process..."

# Delete ArgoCD applications
kubectl delete applications --all -n argocd 2>/dev/null || true

# Delete EKS cluster
eksctl delete cluster --name secure-three-tier-cluster --region us-east-1 --wait

# Clean up ECR repositories
for repo in frontend-app backend-api; do
    aws ecr delete-repository --repository-name $repo --force --region us-east-1 2>/dev/null || true
done

# Destroy Terraform infrastructure
cd Jenkins-Server-TF
terraform destroy -var-file=variables.tfvars --auto-approve

echo "Cleanup process completed!"
This comprehensive cleanup phase ensures complete infrastructure destruction while maintaining data safety and cost optimization. Always verify the cleanup using the provided verification scripts to avoid unexpected AWS charges.
Conclusion
This implementation demonstrates a comprehensive DevSecOps approach to deploying containerized applications on AWS. The architecture provides:
Scalability: Automated scaling based on demand
Security: Multi-layered security controls and monitoring
Reliability: High availability and disaster recovery capabilities
Maintainability: GitOps-based deployment and configuration management
Observability: Comprehensive monitoring and logging
Key Achievements
✅ Automated infrastructure provisioning with Terraform ✅ Secure CI/CD pipeline with quality gates ✅ Container orchestration with managed Kubernetes ✅ GitOps deployment with ArgoCD ✅ Comprehensive monitoring with Prometheus and Grafana ✅ Production-ready security controls ✅ Data persistence and backup strategies
Next Steps
Implement advanced security scanning with Falco
Add distributed tracing with Jaeger
Integrate with AWS CloudTrail for audit logging
Implement blue-green deployment strategies
Add chaos engineering practices with Chaos Monkey
This architecture serves as a foundation for scalable, secure, and maintainable cloud-native applications in production environments.